 [1]
[1]Image source: Pixabay.com
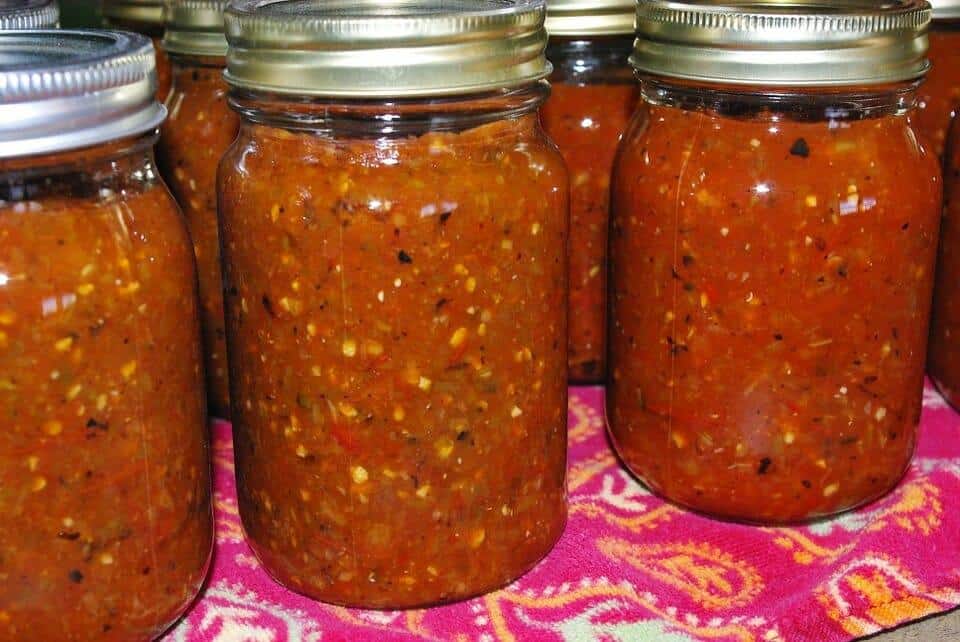
It’s the time of year when gardeners and homesteaders are scrambling to preserve our harvest in order to enjoy the literal fruits of our labors as close to year-round as possible. For a lot of us, that means canning. Most of us know our way around the kitchen when it comes to putting up food, but there are some mistakes that beginners—and sometimes even experienced canners—make.
1. Using untested recipes. Trying new methods from unreliable sources might be fine for some things, but not for canning. If it hasn’t come from a rock-solid source that has tested the recipe for safety, it’s not worth the risk.
2. Doubling batches of pectin-added jam. It says on the package not to do it, but newbies often try it anyway. It just seems so counter-intuitive—I mean, if you double everything exactly, why wouldn’t it work? Trust me. It doesn’t. Your jam will look pretty and taste delicious, but there is a very high likelihood that it won’t set. You can still use it to pour over ice cream, but it won’t be jam.
3. Reducing or replacing sugar in jam with regular pectin. This is another one that seems like it should work, but it doesn’t. The jam recipes on regular pectin packages call for a LOT of sugar, which is understandably off-putting. But if you want to use less sugar or a sugar substitute, buy the special pectin for low sugar for successful jamming.
4. Canning low-quality product. Always remember that canning food will in no way improve its flavor and texture. If it is picked too long ago, overripe, or substandard in any other way, it’s not a good candidate for canning. Can the best and eat the rest.
Discover More Than 1,100 Secrets That Every Homesteader Should Know! [2]
I should note that this is advice intended for a scenario of plenty. If hardship or disaster prevents you from having enough high-quality food to can, it may be necessary to can what you have available, whether it is the most desirable or not.
5. Tightening jar rings after processing and leaving them in place during storage. The function of jar rings is to keep the lids on during processing, and nothing more. After processing and cooling, the rings should be loose. Retightening them could compromise your seal, and storing the jars with the rings on will cause the rings to rust and will provide a space for food particles to grow mold and bacteria under the ring. Remove the rings and wash them for use on your next batch, and rinse off the outside of the jar before storing.
 [3]
[3]Image source: Pixabay.com
6. Fudging the processing time. When canning, precision is key. Use a timer and don’t cut corners when it comes to processing time. And be careful to use the time for the size jar you are using—many recipes give different times for quarts and pints. A note of caution: If you’re using those new 24-ounce canning jars, you won’t find any canning times for them. Don’t try splitting the difference, because unless you’ve tested the process in a food laboratory, you can’t know exactly how long it takes to get adequate heat to the center of that 24-ounce jar. If your recipe gives different times for pints and quarts and you’re using pint-and-a-halfs, use the time for the quarts.
7. Using alternative processing methods. We’ve all seen them—cute tricks for canning in your microwave or dishwasher or oven. And we’ve heard stories about how back in the day they used wax for jam or just inverted the jars on the counter and allowed them to heat-seal. Sure, people did it and lived through it, but why take the risk? None of these methods meet current safety recommendations, and some have made people sick.
8. Not taking headspace seriously. That space between the top of the product and the top of the jar is a key component to canning success. Too little space can cause product to squirt out during processing and get stuck on the rim, which could prevent the lid from sealing. Too much space can also prevent a tight seal, because larger headspaces take longer processing times to push out all the air and create the necessary vacuum. All good recipes give a head space measurement, and they are worth heeding.
9. Getting the temperatures wrong. Use hot jars, and place them into simmering water in the canner. Placing cold jars into hot water can cause breakage. And starting with cool water in the canner can take extra time to bring it up to boil, resulting in overcooked end results.
10. Not using the correct amount of water in the canner. It’s important that your water level is right. Too little water can expose the lids during a vigorous boil, and they may not can properly, and too much will take a long time to reach boiling. For a boiling-water-bath canner, you need at least 1 inch over top of the jars, but no more than 2 inches. It can be hard to judge ahead of time, so keep a kettle full of simmering water on standby when you load the canner, and add more if you need it. Have a long-handled scoop handy for bailing out excess water, too. Pressure canners are easier in this instance—follow the manufacturer’s directions, which will tell you either to use the fill line on the canner itself or to measure a certain depth of water.
11. Removing jars immediately after processing. It’s recommended to leave the jars in the water for a bit. In a boiling-water-bath canner, turn off the heat and remove the lid and let the jars set for five minutes before removing. In a pressure canner, allow it to completely depressurize, remove the weight or open the petcock, and let the jars set for 10 minutes before lifting the lid and removing the jars. This is not crucial, but it contributes to a better sealing rate. Then, let your jars set untouched for 12-24 hours. As much as you want to pick them up to show them off, or to put them away to make room for the next batch, or even to just press down on the lid to see if it sealed, try to leave them alone. This will improve your odds of a good solid seal for the best possible end result.
12. Pouring water off the lid. Oh, I know. This one is so hard to resist! It is super tempting to tilt the jar to pour off the excess water on the top, but don’t do it. Doing so can disrupt the seal you worked so hard to achieve. Remove the jars from the canner, set them on a towel or rack, and let the water evaporate naturally.
If you don’t get every single one of these items right every time, do not worry. Most of us don’t achieve perfection. I would encourage you to focus on product safety first, and continue to work on other possible mistakes which may affect the quality and success of your canning endeavors. And when you enjoy a jar of home-canned chutney or jam next winter, you’ll be glad you went to the trouble of doing your best.
What common mistakes would you add to our list? Share your tips in the section below: