


Image source: Pixabay.com
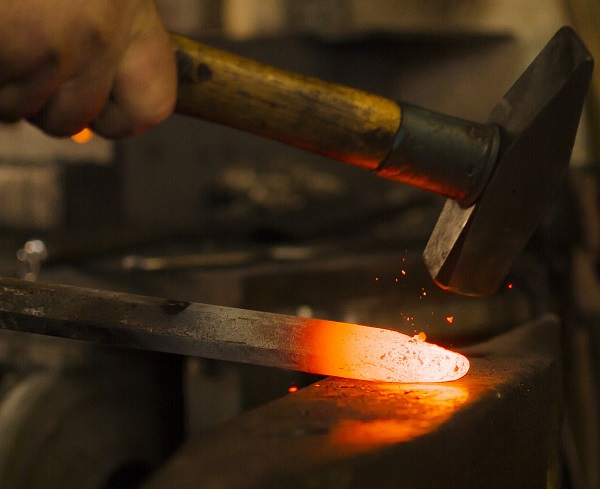
So many backyard blacksmithing projects, so little time…
And then there’s the whole thing about not actually owning a forge, which also might throw a wrench into things. Yet when things get pricey, that’s when you can look to the trusty DIY-method of doing things. In this case, the solution is actually a strangely simple one: the time-tested brake drum forge.
Really? This actually works? Short answer: Yes, and it works like a charm (at least in my own personal experience).
The concept of the forge itself is rather straightforward. All you need is a bowl, made of some pretty beefy steel, and a method of feeding it oxygen. Then add charcoal, light ‘er up, and whamo … it’s hammer time. Because it’s made out of things we already may have, let’s call it a “survival forge.”
But before we begin, there is something EXTREMELY crucial to keep in mind.
It’s called “metal fume fever,” which is basically what happens when you inhale a bunch of vaporized zinc oxide, which builds up in your lungs. Before you know it, you’ll find yourself feeling nauseous, coughing and wheezing, then likely passing out (among other things), and if enough zinc oxide was inhaled, dying.
When galvanized steel gets red hot, it releases zinc oxide vapor — a toxin that you’d inevitably breath in if you’re not wearing a full-blown commercial-grade hazmat suit. The stuff is extremely poisonous, so whatever you do: please, please, PLEASE do not construct your forge out of anything galvanized.
Ok, glad we got that out of the way. On we go.
Let’s Get Started, Shall We?
First, you’re going to need a brake drum. Even better, grab a big old truck brake drum from the junkyard, since its size will make it far easier to
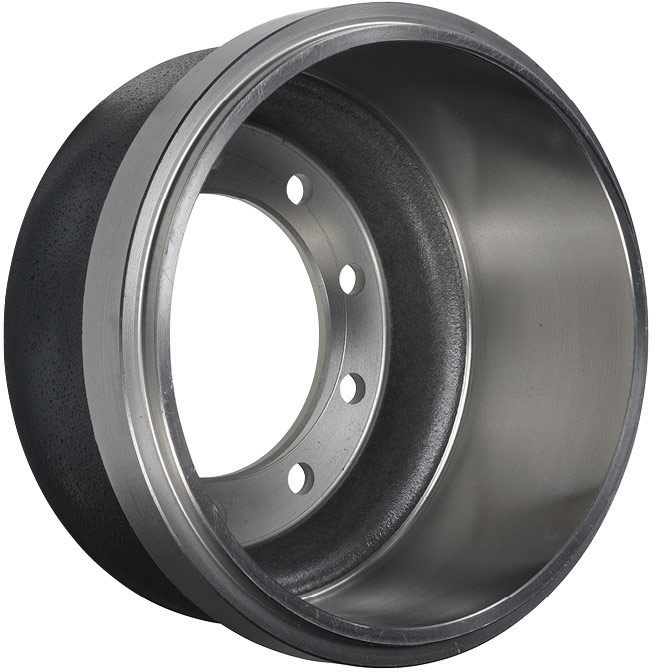
Brake drum.
work with. Now, here are a few additional components to acquire:
- 2-inch black iron piping with standard threading
- (1) 2-foot long piece
- (2) 1.5-foot long pieces
- (1) Tee fitting
- (1) End cap fitting
- (1) Hat fitting
- A table stand to hold the forge in place (you can either construct one yourself, but I just used cinder blocks to prop mine up).
- Electric or hand-pump blower. Even a hair dryer will do — and those are always available during garage sale season.
- Your charcoal screen (for keeping the fire inside the brake drum, and not falling into the piping). This doesn’t have to be too complicated, as I found a simple steel plate with several holes drilled into it works just fine.
- Non-galvanized bolts, nuts & washers, roughly the same diameter as the holes that brake drums already have, because they were formerly attached to the truck somehow, right?
- Metal plate (This is optional, in case your brake drum and iron hat-fitting don’t line up properly. Simply drill out holes to line up with both, just to keep the dern thing in place.)
Now thankfully, assembly is pretty easy …
- Put together your piping by making a “T.” Make sure the 2-foot pipe is your stem, then thread the end cap on one end and the hat fitting on the other.
- Next, line up the brake drum holes to those on the hat fitting. Granted, the hat fitting might not be big enough for the brake drum itself, so that’s where the last item on our component inventory comes into play.
- Fix the hat fitting and the brake drum into place with your (non-galvanized) hardware.
- Set the brake drum and assembly on your stand or cinder blocks with the brake drum’s concave side facing skyward.
- Drop your charcoal screen into the belly of your brake drum. Make sure to cover the big hole that drops down to the end cap.
- Line up your blower to the 2-foot-long pipe that’s sticking out horizontally.
And with that, ladies and gentlemen, you have a forge.
Operating the Forge
All that’s left is to acquire your charcoal, but this is a bit more complicated than it may seem. Unfortunately, you can’t just kindle a fire in this puppy and expect to heat your project evenly.
Some have noted that they’ve used grilling charcoal bricks in a pinch; however, having tried this myself, I just don’t think those things can get hot enough (because I’m working with steel, not steak). So, with that said, I have actually seen blacksmithing charcoal available for purchase on eBay — but if you can track down any local blacksmiths, I’ve found that they’ll often just sell you a bag or two for a decent price.
As for the blacksmithing, well, I shall leave that one to you.
If you’re still confused, then watch the video below from a YouTuber making his own forge. (He does things a bit different.)
Have you ever made a forge? What blacksmithing advice would you add? Share your tops in the section below:


