


Image source: Washington.uwex.edu
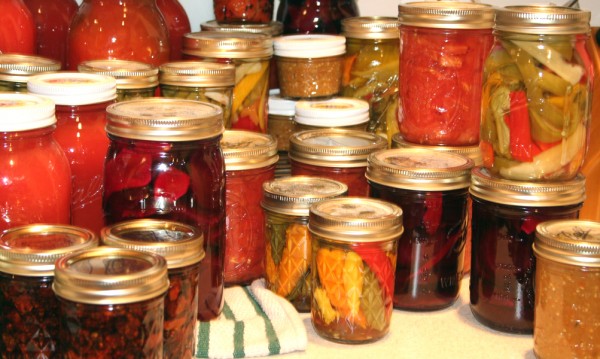
A great way to preserve the bounty of your summer and fall gardens is by canning your produce. A successful canning season takes some preparation, though, and now is the time to get ready.
If you make the time now to follow a few simple steps, it will pay off with more good food stored on your shelves for your family’s winter meals.
First, decide what you want to preserve. If you have canned before, take a look at your pantry. What is left from last year and what is long gone? Make a list of your family’s favorites and consider canning more of them this year. By the same token, if something was not a hit – that is, there is still plenty of it left on the shelf — you may want to cross it off this year’s list.
What you preserve will also be determined by the quantity of certain plants in your garden and/or the availability of certain fruits and vegetables in your area. If your family loves your homemade applesauce and you ran out too soon, it might be time to investigate some u-pick orchards for more apples, for instance. Try PickYourOwn.org for new locations in your area. Call the farms or orchards for peak harvest times and make plans to be there early so as not to miss the best selection. Some growing seasons are short.
Next, get your supplies in order. Many new canners get overwhelmed by the amount of supplies you need, but the good news is that you can use many of them over and over again. Garage sales, estate sales and thrift stores can be good sources for canning supplies at rock bottom prices.
Depending on your recipe, here is a basic list to get you started:
- Canning jars
- Canner or stock pot
- Pressure canner
- Canning funnel
- Rack to hold jars up in canner
- Jar lifter
- Lid magnet
- Spatula
- Tongs
- Apple peeler/corer
- Measuring cups, spoons and knives
- Pot holders
- Strainer
- Jar labels
- Cheesecloth
- Jelly bag
- Thermometer (for no-pectin jams and marmalades)
Examine your equipment, looking for any scratches, cracks in the jars or chips in the rims. Dispose of any damaged jars because they can be a safety hazard. Also, make sure you have enough lids to fit your jars. The U.S. Department of Agriculture recommends that home canners use self-sealing two-piece metal lids. Do not reuse your lids. You may reuse the screw bands as long as they are not damaged.
Prepare now for surging food costs and empty grocery store shelves…
Do you have plenty of rubber gaskets? Do you need more Tattler lids this year? Is all your equipment clean and in good working order?
A pressure canner will reach a temperature of 240 F when working properly. When you process low-acid foods for the correct amount of time in a pressure canner, you kill harmful bacteria and spores. Your gauge should be checked each year, however, to ensure it is working properly. Many county extension offices offer a gauge checking service, so check your local office’s website.
 Now, depending on what you are preserving, it’s time to check your supply of ingredients, including:
- sugar
- pectin
- clear gel for pie fillings
- citric acid (or lemon juice) for tomatoes
- ascorbic acid to prevent discoloration
- spices
(Read how to make homemade pectin here.)
Pull out your favorite recipes and check online for new ones to see if you need other ingredients. Only use recipes that have been tested for safety.
The next step is to set a date or dates to do your canning. You’ll want to do the work as soon after you pick the fruit or vegetables as possible for optimum taste and nutrition. Picking the date in advance allows you to have your kitchen and supplies prepared for the process and to secure the help of friends and family members.
Having help with the canning process not only provides extra sets of hands to peel, chop, pour and stir, but it makes the whole thing more of an enjoyable experience. You also may be able to combine equipment and ingredients to cut down on costs.
A good resource for canning, including recipes and instructions, is the National Center for Home Food Preservation website. You also can check the website for your local university extension service. The previously mentioned PickYourOwn.org site also offers tips and instructions for canning as well as an alphabetical list of fruits and vegetables that you can click on for specific canning instructions.
Whether you are an experienced canner or just starting out, successful canning comes with advanced planning. When you are sure you have everything ready for the process, you will be sure to end up with a delicious product.
What are your best canning tips? Share them in the section below:
Get $600 Worth Of Survival Blueprints … Absolutely Free!


