


Photo: Jacki Andre
I don’t know who invented seed tape, but that person deserves a gold star. If you’re not familiar with it, seed tape is tissue-thin biodegradable paper, usually about an inch wide, that has seeds embedded in it.
There are several benefits to using seed tape:
- The seeds are optimally spaced for plant growth so that you don’t need to thin.
- No thinning means less waste.
- No thinning means less work.
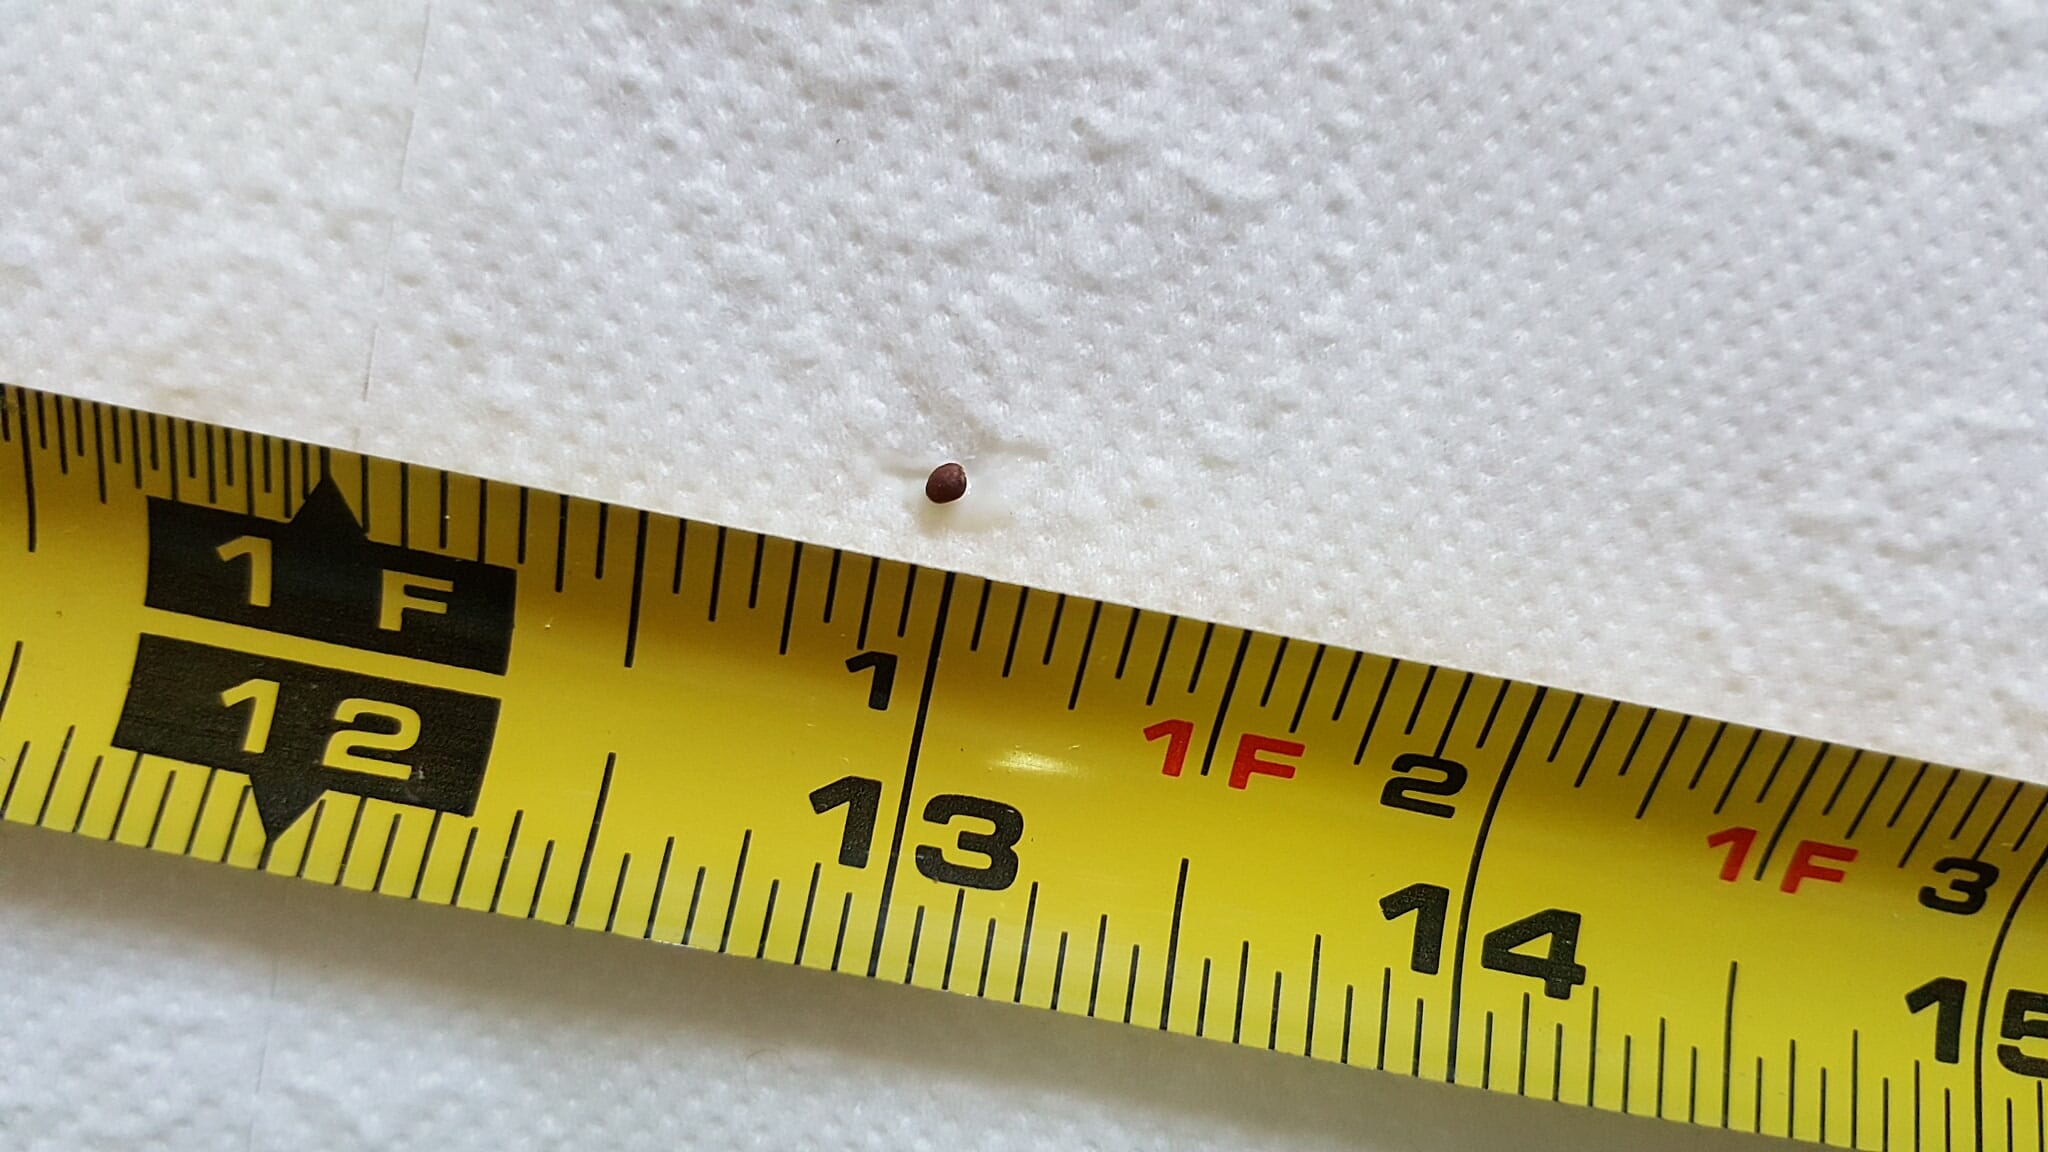
- It’s easier to plant tiny dark seeds since you won’t accidentally pinch extras out of the package, nor lose them in the soil, being unsure how many you actually sowed.
There are two downsides to using seed tape (or wanting to use it). There is a limited selection of vegetables — and varieties — that are available. Commonly, carrots, radishes, beets, and some salad greens (like lettuce and spinach) can be purchased in seed tape.
Need Non-GMO Heirloom Seeds? Get Them From A Company You Can Trust!
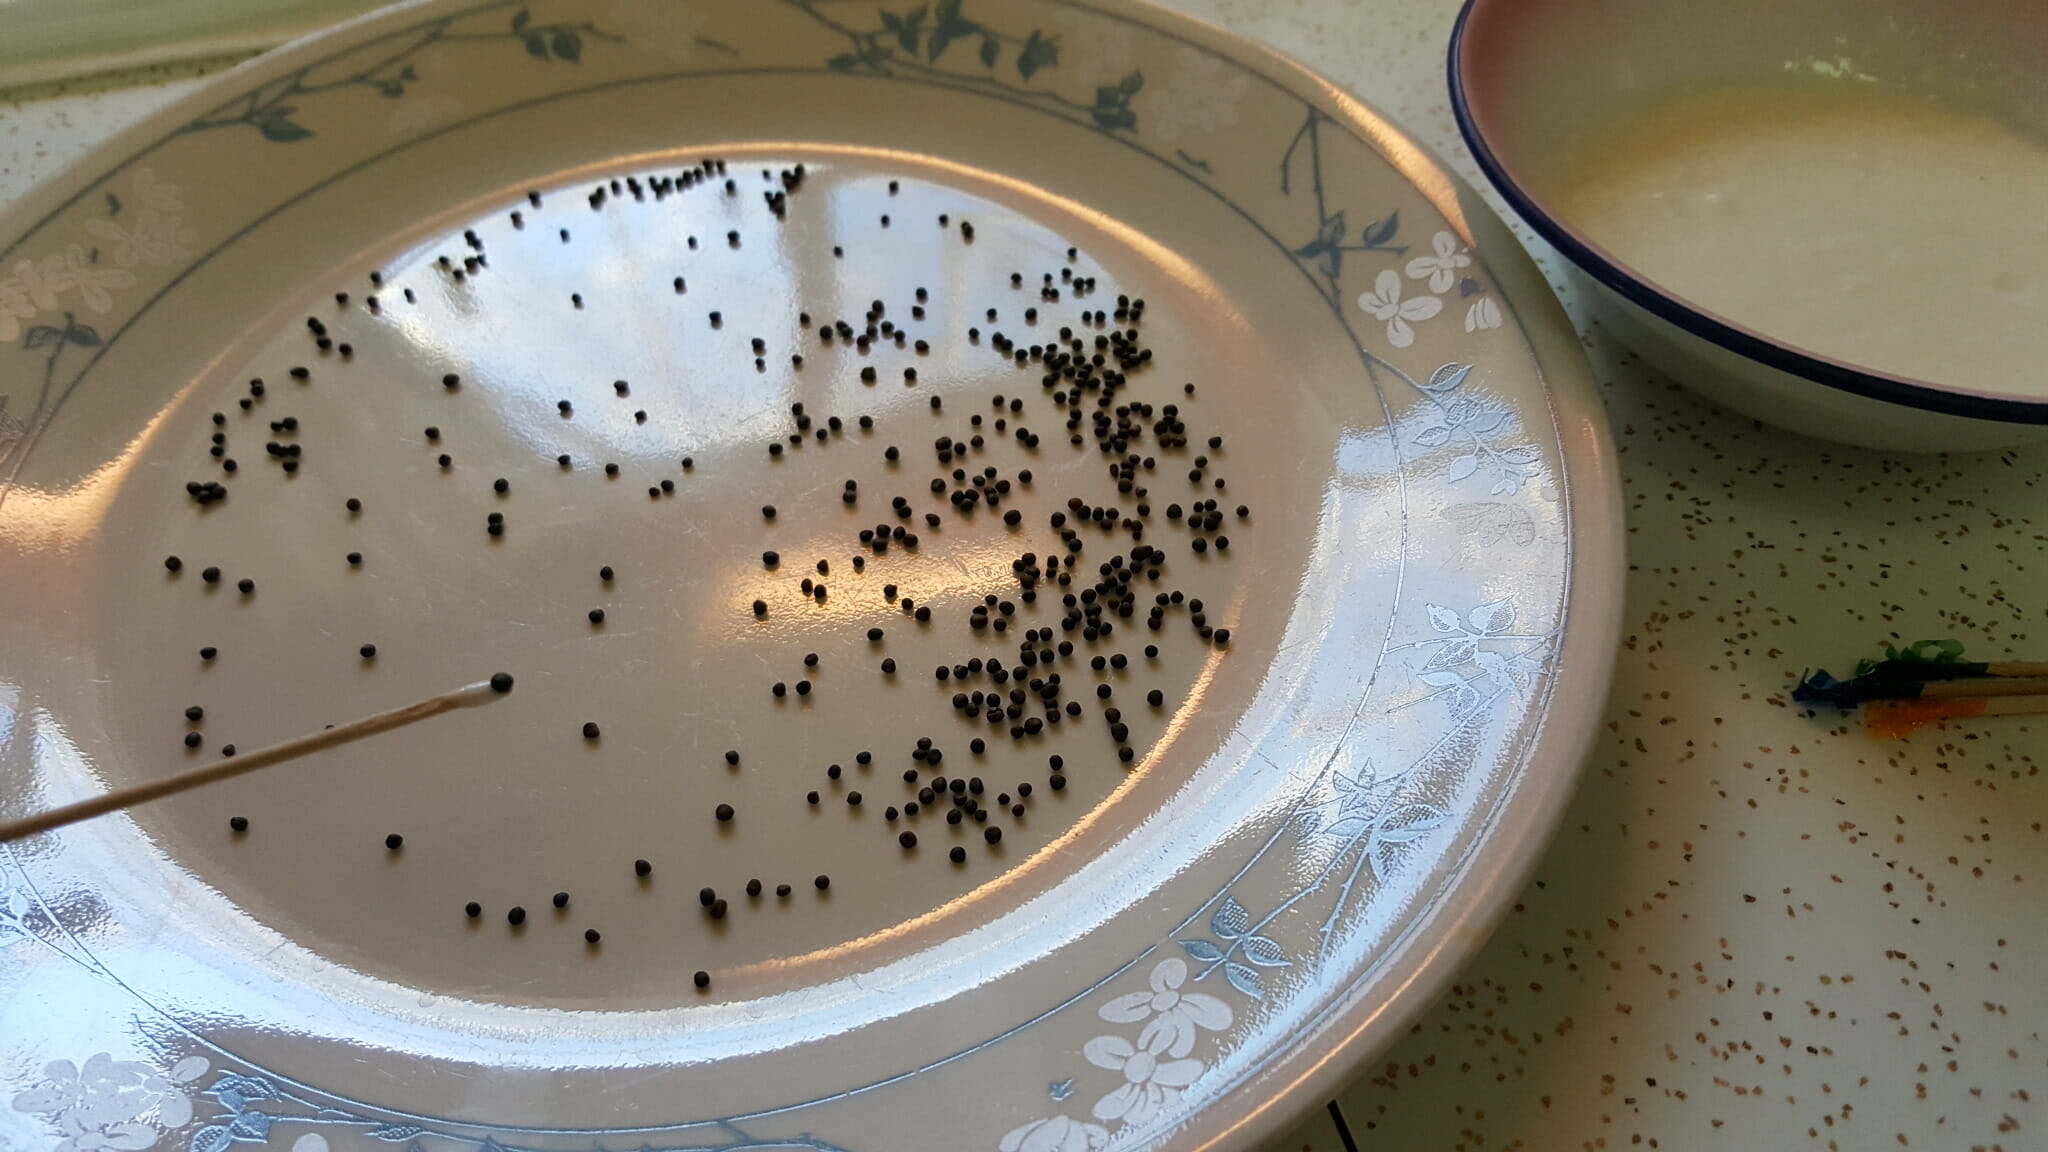
Photo: Jacki Andre
The other downside is cost. Naturally, since additional materials and work are needed to create seed tape, it’s pricier than loose seeds. For example, a well-known seed company has radish seeds listed for $5. But the tape with the radish seeds is $7 for roughly 22 inches of tape; and you’re getting only one-fourth the number of seeds!
But you can make your own seed tape for pennies. And you can use any seeds that you want. It’s a super-fast, easy, cheap and practical project.
There are lots of websites with directions on how to make seed tape. I relied heavily on the tutorial at learningandyearning.com.
Start by gathering your supplies together. You need:
- Seeds.
- Toilet paper (unbleached is best).
- Flour & water to make a paste.
- Measuring tape or ruler.
- Toothpicks.
- Marker or pen (optional).
Make the flour paste by mixing flour and warm water together in approximately equal parts. The paste should be thick and goopy. Adjust the flour or water if needed to achieve the right consistency.

Photo: Jacki Andre
Tear off strips of toilet paper. My kitchen table is about three feet across, so that’s how long I made my strips. Your own strips can be as long as you like. Keep in mind the row length in your own garden. I have raised beds with eight-foot rows. It would have made more sense to make seed tape in four-foot lengths, but I worked with what I had.
Fold the toilet paper in half lengthwise. The purpose is to make a straight seam down the middle to use as a guide, so press the seam firmly and then reopen the toilet paper.
Read the directions on the seed packet to find out the optimal distance between plants. Ignore the part where it suggests seed spacing, as this is often considerably smaller than plant spacing.
Seamazing: The Low-Cost Way To Re-mineralize Your Soil
You can use a pen or marker to indicate where the seeds should be placed. Marking dots is a good idea if you’re using a small ruler that you need to frequently move. If you’re using a yardstick or measuring tape, though, it’s faster and easier to just leave the measuring device on top of the toilet paper and plop the seeds down in their appropriate spots. Note: The seeds should be placed in the center of one side of the toilet paper.
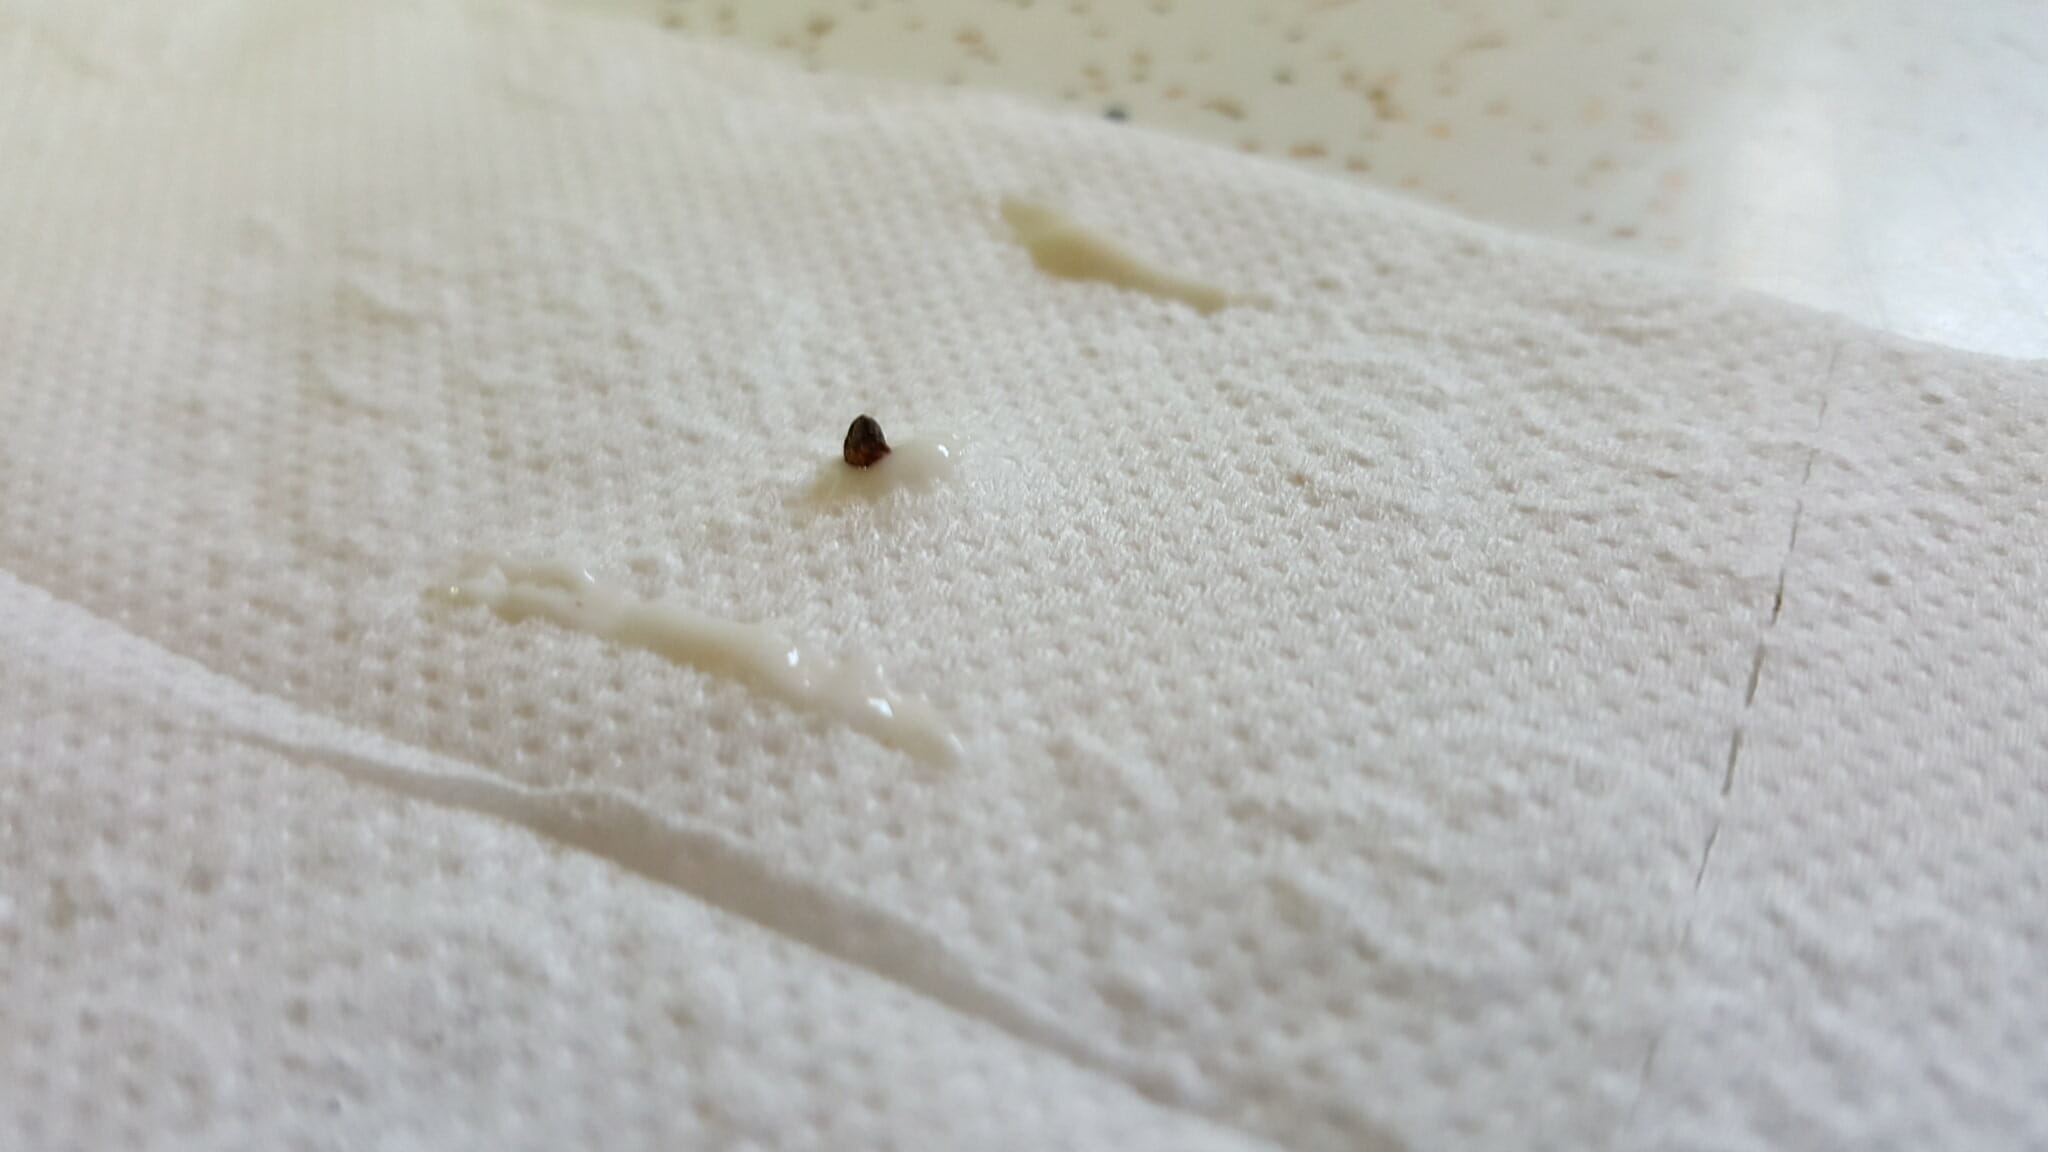
Photo: Jacki Andre
Dump your seeds onto a light-colored surface. The tutorial I read suggested using a sheet of paper, but you don’t have to worry about seeds rolling away if you use something with a lipped edge, like a dinner plate.
Dip a toothpick into the flour paste and then use the gluey tip to pick up one seed. Transfer the seed to its spot on the toilet paper. Once your length of toilet paper has the correct number of seeds, put small goops of paste here and there on the toilet paper to act as a sealant. Then fold the toilet paper together and press. That’s it. Voilà. You have seed tape.
Once the glue is well-dried, roll or fold the tape and store it in a Ziploc bag. Whether you label the bag or not, I suggest sticking the seed packet in there for future reference.
I made about 24 feet of seed tape in less than half an hour, and that included gathering together all my supplies and taking photos. Once you get set up, you should be able to churn out the seed tape quickly.
When it’s time to plant, just make a neat furrow to the depth indicated on the seed packet and place the seed tape into the furrow. After you cover it with soil, all you have left to do is wait for your perfectly spaced plants to pop up.
Have you ever made or used seed tape? Share your tips in the section below:


