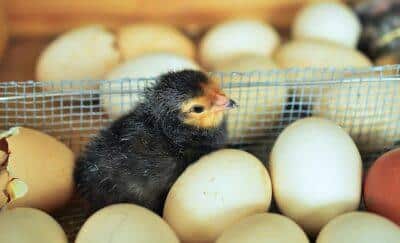
The ancient Egyptians and Chinese are credited with inventing the first egg incubators, but it wasn’t until the late 1800s that the first commercial incubators were used.
Thus began the earnest attempt by poultry breeders to reduce the hen’s instinct to hatch her eggs.
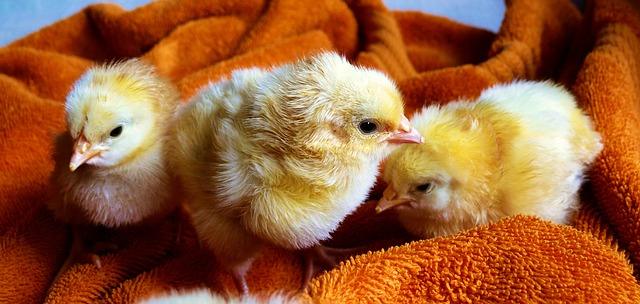
Today, many laying breeds of poultry have almost no instinct to set on, and then hatch their eggs. So for the most part, you’ll have to resort to purchasing day-old chicks from a hatchery, or incubating the eggs and hatching them yourself.
The first thing you’ll need when your chicks hatch or arrive from the hatchery is a brooder to keep them in until they are old enough to regulate their own body heat without an outside source.
For a small number of chicks, brooders can be made from just about type of container. I’ve seen everything from cardboard boxes and baby pools, to large watering troughs.
Diatomaceous Earth: The All-Natural Livestock De-Wormer
What I’ll show you can easily be used to brood up to 50 chicks until they are ready for the coop or pasture pen. Plus, it’s durable.
The materials you will need to make the brooder hover are:
- 1 – 4×8 sheet of plywood
- 4 – 2x4x8
- A box of 1 1/2 inch screws
Start with placing two of the 2x4s about four feet apart and laying the sheet of plywood on top of them. Slide the 2x4s out to the edge of the plywood and screw them tight. Flip the plywood over and get a measurement for the ends. Cut two pieces for the ends and screw them on. At this point, you will have a sheet of plywood that is framed around the edges with a 2×4.
Next, take the remaining 2×4 and cut it into two-foot pieces. These will be the four legs of the brooder. Screw the four legs on each corner. You now have basically a two-foot-high plywood table. You will brood the chicks under the table. The heat is regulated by moving the lamps up or down and covering the sides with fabric.
Measure approximately 12 inches from the end and 24 inches from the side on each end. Drill or saw a hole at these locations big enough for an electric cord. This will be for using two heat lamps to regulate the temperature.
You can use any type of fabric to hang from the sides of the brooder to hold in the heat. I’ve used everything from feed sacks to old T-shirts. If you place the brooder in a corner, you’ll only need to cover the two sides that are open.
All The Answers To Every Chicken Question And Quandary …
Once you have the brooder in place where you want it, simply pull the heat lamp cords up through the holes you drilled and place the lamps as high as they will go. You can adjust them later once you check the temperature.
Place a thermometer on the floor under the heat lamps and turn on the lamps. You will want the temperature to be around 95 degrees Fahrenheit for the first few days. Adjust the height of the lamps to obtain the right temperature.
If your brooder is in the barn or other unheated area, be aware of temperature changes. A 30-degree night might need the lamps adjusted compared to a 60-degree day. The key is to watch the chicks. If they are huddled under the lamps, it’s too cold. If they are wandering around throughout the brooder, it is a good sign.
Once the birds are feathered out, they are ready to move to another location.
This is a simple and easy brooder to make, and when you’re done you can store it easily for the next batch of chicks.
What advice would add for making a brooder? Share your tips in the section below:
 Off The Grid News Better Ideas For Off The Grid Living


