


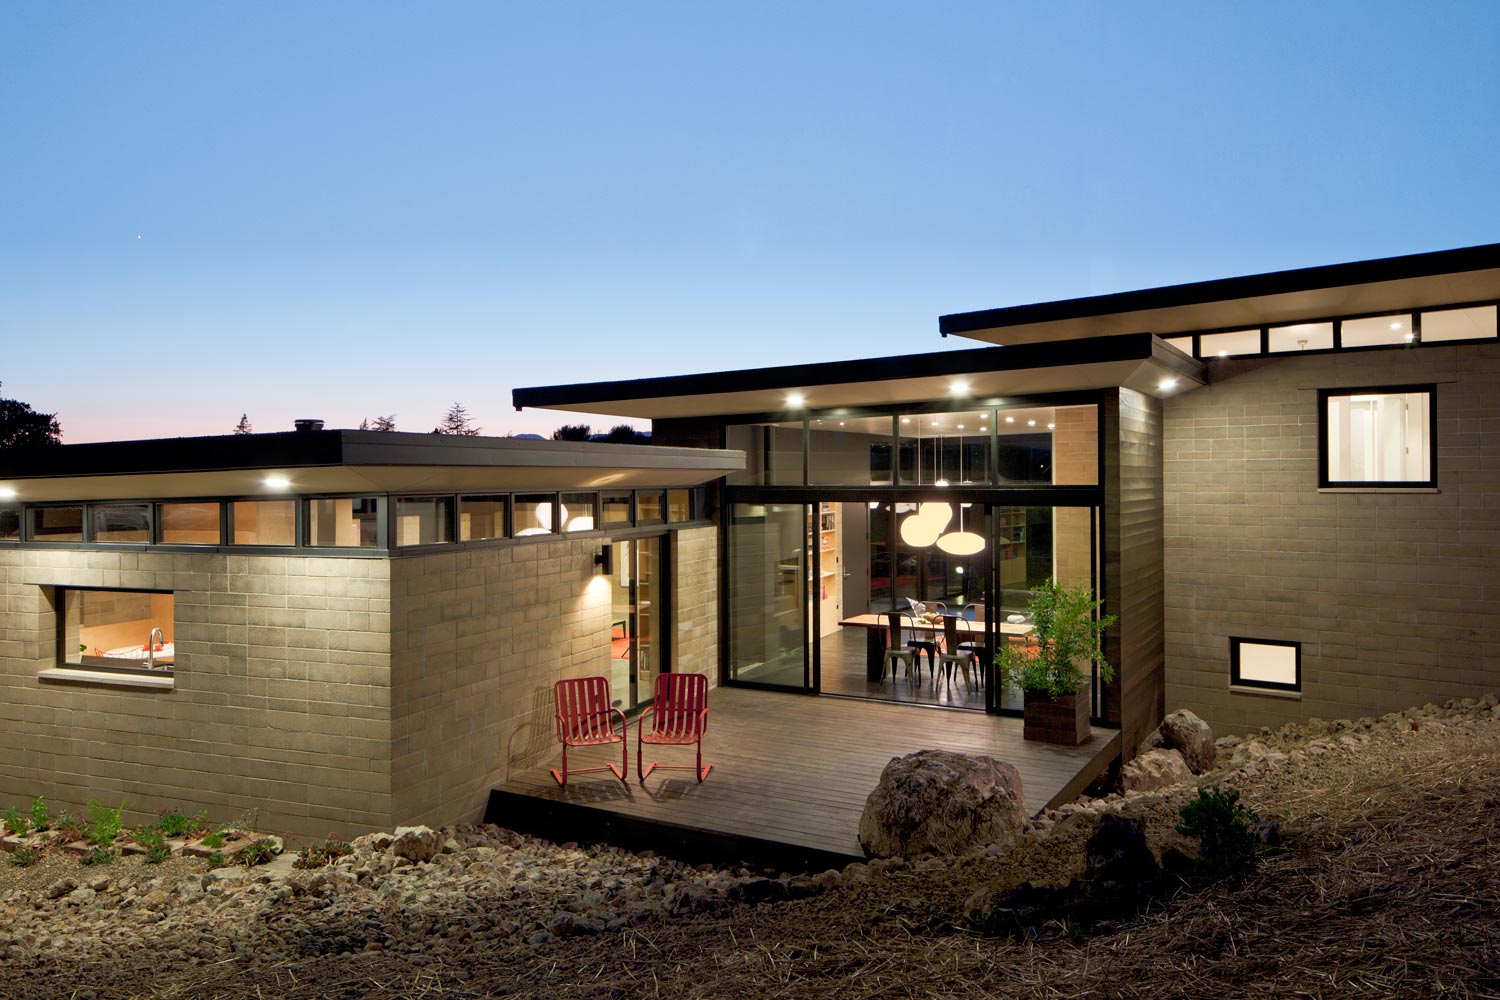
Image source: rammedearthworks.com
Rammed earth homes made out of natural resources such as sand and clay have been around since before people had axes. In fact, the technique to build them has been used by nearly every culture on earth at one point or another, and now it’s making a great resurgence here in America.
There is no wonder as to why it’s surging in popularity. There are very few other building materials where you don’t have to cut something down, use chemicals or pollute your environment.
There are many reasons why you’d want to build a rammed earth home, but here are just a few.
1. They use perhaps the lowest cost building material around. In fact, over and above just a little bit of cement, you can build your walls for free if you don’t count your labor time to do it yourself.
2. There are some that have stood for many hundreds of years. Once you build it the right way, it’s here to stay.
3. You can get an R factor similar to, or even better than, log homes. They are super easy to cool in the summer and can retain heat well in the winter depending on your build (which we will discuss latter).
4. They are fireproof. Sure, your wood doors and window frames might burn, but that’s about it.
5. You won’t have termite problems, ever. You’ll never have to think about any type of bugs eating your home. If you have wooden doors, window frames and rafters, then you have the possibility there. But, other than that, no worries.
6. They’re energy-efficient. If you have a great seal around your doors and windows, then you have a very, very airtight home. This greatly decreases the heating and air conditioning requirements. It also is a blessing for any allergy sufferers, as these homes can maintain a more pollen-free environment.
There are no set formulas for your earth materials mixture. However, there are some guidelines that you need to follow or you’ll run into problems.
Guideline No. 1
Your earth material needs to be sandy, but not too sandy. Most builders recommend between 50 percent to 75 percent sand in your earthen mixture.
These Solar Backup Generators Deliver 4 Times More Power Than Other Models!
When your sand level gets too high, you could end up with walls that can crumble. If your sand level is too low, you’d end up with mud that will shrink and crack as it dries.
Guideline No. 2
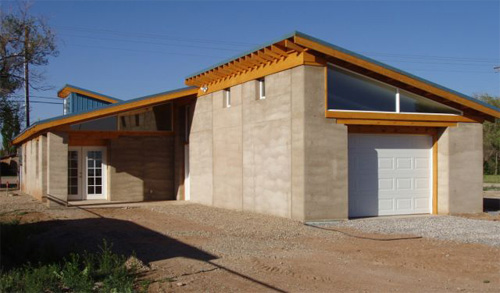
Image source: adobemachine.com
Don’t go too heavy on the clay. If you do, you’ll again end up with shrinkage and cracking as it dries. Clay being about 10 percent of your earthen material usually works well. Too much more and you’ll see it start to get a little soupy on you.
Guideline No. 3
Mix in fine-powdered cement at approximately 10 percent of your earthen mixture. This material was not available thousands of years ago. But, there is no reason you wouldn’t want to take advantage of it and create a home several times stronger than the ones they made that have stood the test of time.
Guideline No. 4
You don’t want your moisture level to be at anything more than 10 percent. If it is, you’ll be compacting mud instead of ramming earth.
One easy test is to make a squeezed ball of your material in your hand and drop it to the ground. If it breaks and shatters, then your mixture isn’t right. If it splats, it’s too wet.
What About Colors?
Varying the colors of the batches of your earthen mixture that you will lay down in layers can produce walls with an amazingly aesthetic appeal.
As an example, a Sedona Arizona red dirt layered with a slightly lighter, browner mixture has a really nice look that will give your walls far greater appeal. You can get colored earth from many locations or just stick with the local stuff so you blend in.
Wall Types
There are two basic wall types that you can use in the construction of your rammed earth home.
The first is to build walls that are 12 inches thick, which is the standard building thickness. You can (as some do), go 24 inches thick and end up with the really deep window and door wells that are prevalent in straw bale homes due to their wall thickness.
Either thickness will be more than strong enough. The strength of your walls won’t really be an issue.
World’s Smallest Solar Generator … Priced So Low Anyone Can Afford It!
The second is to do two 8- to 12-inch walls with a layer of insulation sandwiched in between. This offers better insulation, which can pay dividends over the life of the home.
How to Build Your Rammed Earth Walls
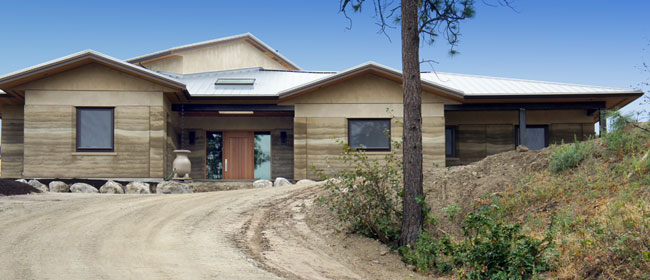
Image source: yourecofriend.com
Before you build your walls, you need a good foundation. There are many guides on building foundations, but here’s a tip: Be sure to check your local splash and frost lines for the height and depth at which you should set your foundation. This is one of those things where, later, you’ll be happy later you did.
Another tip: Build your forms/molds out of five-eighths inch marine plywood so they will be light enough for one man to handle if needed and an easy job for two guys.
Line the interiors of your forms with shoot steel so that your walls are super smooth when you pop off the forms. You’ll like the look a whole lot better than the rougher look wood will leave. Plus, at times you can see the wood grain in the walls with uncovered plywood forms. You may have seen that on concrete walls, where you can see the plywood marks in it. Shoot steel will solve that.
Ramming the Walls
Be sure to have half inch or one-fourth inch rebar stubbed up two inches tall, once every foot, where the center of your wall will go. This will help anchor the walls well.
Build your forms on both sides of the stubs and lay in four inches of your earthen mixture at 10 percent or a little less moisture.
There are many rams on the market, but at a minimum go with one that’s at least six-feet tall and at least 15 pounds. This size will likely use a one-inch pipe to attach to the hammer head.
Hammer that four inches down until it sounds (rings) like you’re hammering rock.
Lay down your next four inches and repeat the process of hammering until you hear that distinctive sound.
Be sure to tarp the walls at night to keep the rain off of them or it will seep between the walls and forms and you’ll have problems.
Removing the Forms
Rammed earth fully hardens as it dries. So, as soon as your wall is packed, you can remove the forms. This is a good time to smooth any rough spots if you’re going to leave the rammed earth exposed as the interior or exterior.
Windows and Doors
As you come to your windows and doors, you frame them. They MUST be well built as you’re going to be ramming earth on top of them.
Tip: When putting in your form frame for a window, drill two or three one-eighth or one-fourth inch holes into the rammed earth below the frame. Drop in a short piece of rebar into each hole with an inch or two stubbed up. Re-hammer the earth around them to set them.
You’ll now have pre-built window mounts that will be in those walls like they were poured in concrete.
Now, just build your walls right around those frames, hammering the material just like you would in any other part of the wall.
There you have it. Those are the basics of building your rammed earth home. Get a manual to learn more about the nitty gritty. But, the above is really the basics of how you get it done. The rest is just details and measuring tapes.
What advice would you add? Share it in the section below:
Are You Prepared For Blackouts This Winter? Read More Here.


