 Print
When the Lights Quit and the Freezer Clock Starts Ticking
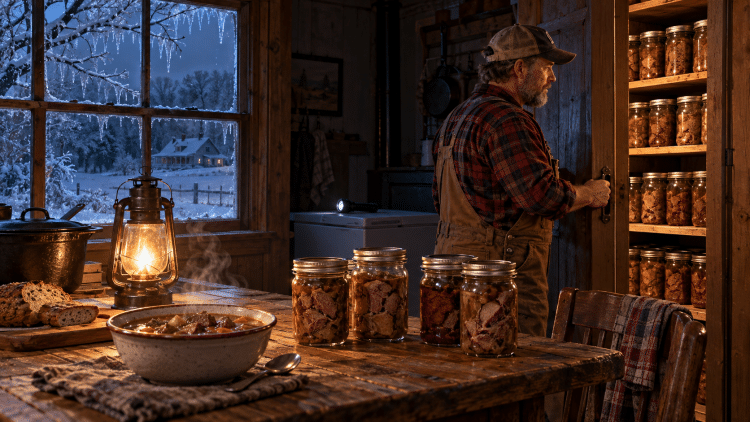
Picture a nasty January ice storm rolling over the homestead. Out by the road, the power lines sag under sleeves of ice until a limb cracks, a wire snaps, and the house goes pitch black. Down in the basement, your chest freezer holds a season’s worth of venison and beef.
Suddenly, that freezer feels a whole lot different. Yesterday, it was a treasure chest. Now you’re scrambling for a flashlight, wondering how long the outage will last and how much meat you might lose.
That’s a fine time to remember why the old-timers put meat in jars.
With properly pressure-canned meat on the pantry shelf, part of your food supply can sit tight while the linemen do their work. Better yet, those jars give you a head start on supper long after the storm blows through. Here’s how to put up plain meat chunks using a tested process and a little good homestead sense.
Sock Away Some of Your Harvest Where the Wires Can’t Reach
Around a homestead, it pays to spread things out. Keep some meat frozen, and use tested methods for any you dry or cure. Then give a good share of that harvest a home in the pantry.
Here’s the best part: canned meat is the homestead’s original convenience food. Open a jar, heat the meat for gravy over mashed potatoes, or work it into a pot of soup with vegetables cooked at suppertime. You’ve already done the long part of the job, giving yourself a jumpstart on supper.
Meanwhile, you’ve freed up freezer space. Anybody who’s wrangled a frozen roast into a gap the size of a church hymnal knows what that’s worth. A few rows of jars can make both your pantry and your evenings work a little easier.
Start With a Tested Recipe and the Right Canner
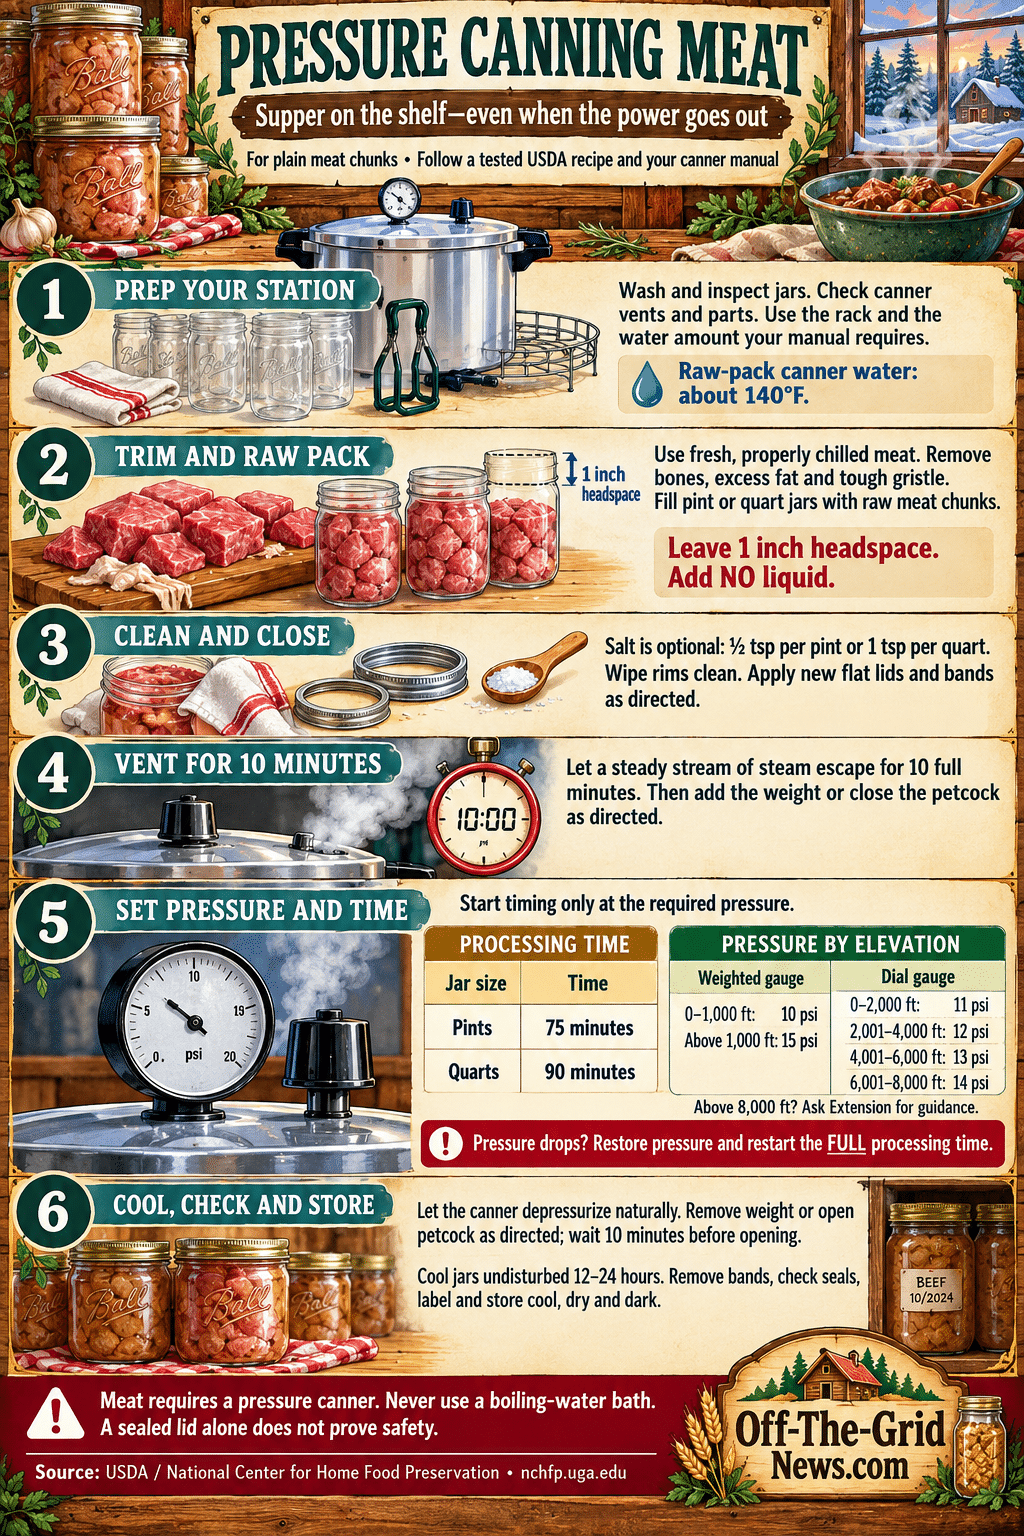
First, let’s clear away the fog: meat needs pressure canning. A boiling-water bath can’t do this job safely, and a small pressure cooker is no substitute for the proper equipment. Meat is a low-acid food, so the process has to control the risk of botulism.
For this batch, follow the USDA-based directions for meat strips, cubes, or chunks from the National Center for Home Food Preservation. They cover plain chunks of meats including beef, lamb, pork, and venison; ground meat, poultry, and mixed meals need their own tested directions. Keep the recipe and your canner’s manual handy from start to finish.
Think of them as part of the equipment.
Get Your Workbench Ready Before Your Hands Get Messy
Before cutting meat, wash your jars and inspect them for cracks and chipped rims. Wide-mouth pints and quarts make packing easy, but regular-mouth canning jars work too. Set out your funnel, jar lifter, headspace tool, clean cloths, bands, and new flat lids for a standard two-piece lid system.
Next, check the canner’s vent, gasket, and other parts according to its manual. Don’t skip these crucial checks. A dial gauge needs an accuracy check before each canning season. The pressure-canner operating guide walks through these checks and the full loading, venting, processing, and cooling routine.
Then place the rack in the canner and add the amount of water your model requires. For raw-packed meat, begin with canner water around 140°F, rather than boiling water. Match the setup to the food and equipment instead of trying to tame a red-hot pot after the jars are filled.
Turn That Roast Into Pantry Supper
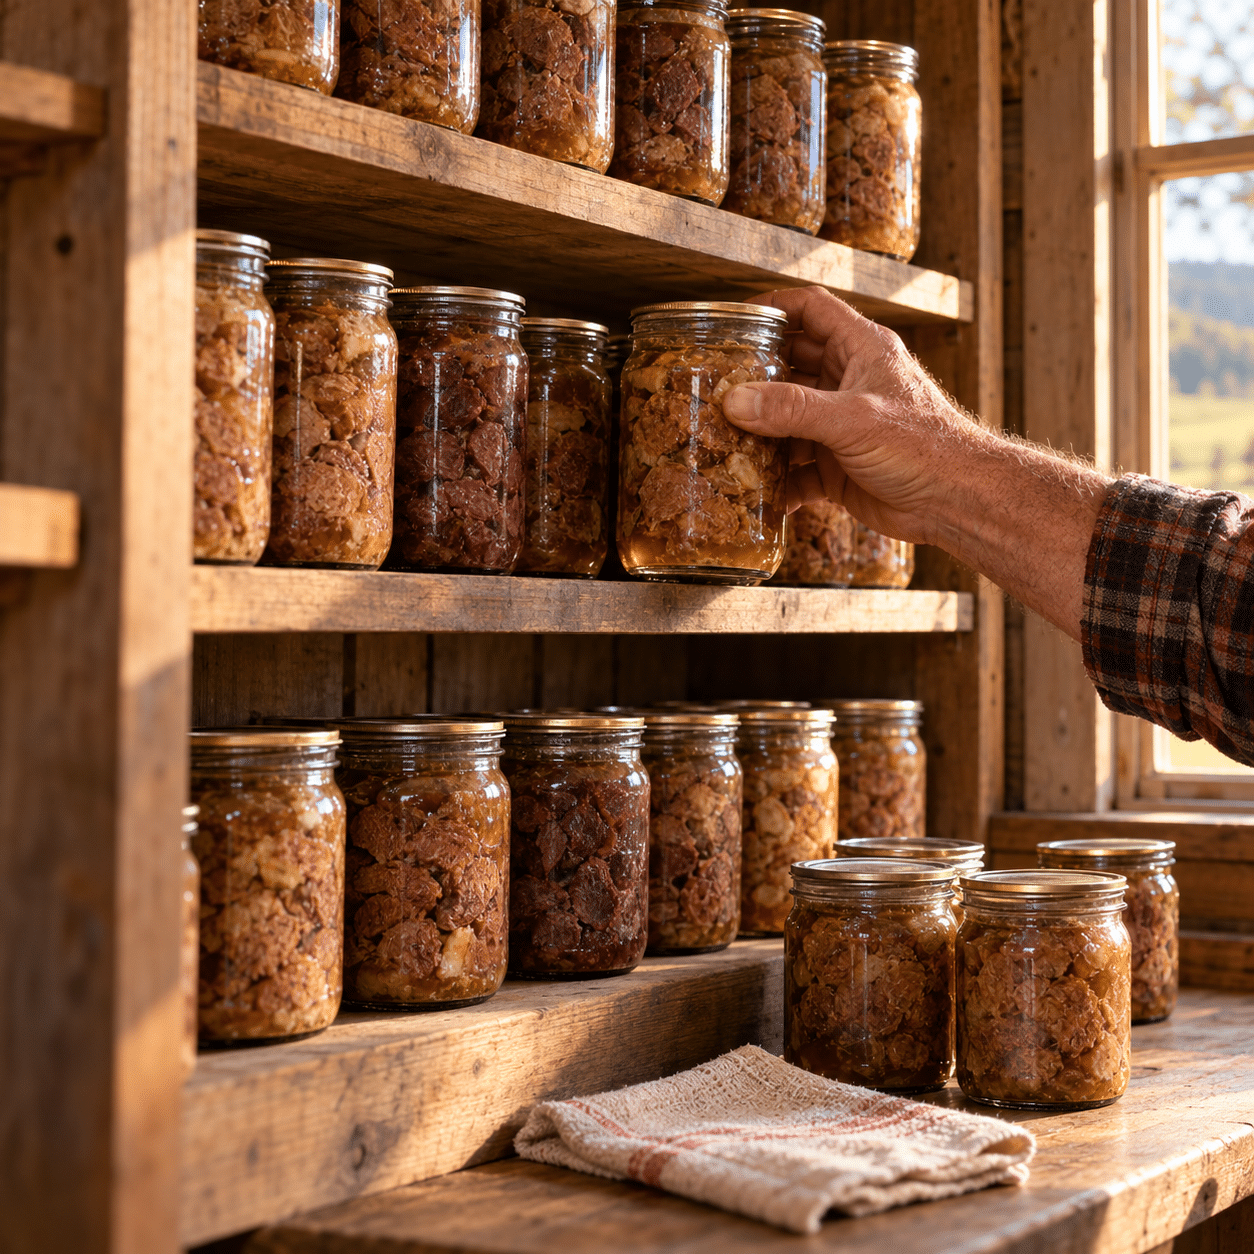
Now take a good, properly chilled roast and cut it into manageable chunks. They don’t have to look like something behind the butcher’s glass. Trim away large bones, excess fat, and tough connective tissue so you aren’t serving a spoonful of gristle with the gravy.
If you’re working with venison, start with meat that was handled cleanly and chilled promptly after the hunt. Canning can’t rescue spoiled meat or undo sloppy handling. Keep the waiting meat refrigerated while you work through each batch.
For more help with preparation, Penn State Extension’s meat and poultry guide is worth keeping nearby. Once the cutting is done, clean your hands and work area before moving on to the jars.
Pack the Meat and Let It Make Its Own Juices
For raw packing, fill the jars with plain raw meat pieces, leaving a measured 1 inch of headspace. That’s the gap between the food and the underside of the lid. Use a headspace tool instead of guessing from the rings molded into the glass.
Now, here’s where this homemade convenience food earns its name: the meat releases juices as it processes. For this tested raw-pack method, don’t add water or broth—not even a splash. If you want better liquid coverage, use the tested hot-pack directions instead, which call for precooking the meat and adding the specified hot liquid.
For flavor, you may add 1 teaspoon of salt per quart or ½ teaspoon per pint. Salt is optional here; it doesn’t make the meat safe. Also, save onions, carrots, flour, and gravy mixes for the cooking pot later unless you’re following a tested recipe that specifically includes them.
Give Every Lid a Clean Place to Land
Next, wipe each jar rim thoroughly so no grease, salt, or little scrap of meat sits beneath the sealing surface. Follow the lid maker’s preparation directions, then put on the new flat lids and tighten the bands as directed, usually fingertip-tight. Cranking down harder doesn’t buy you a better seal. That’s a shortcut to trouble.
Afterward, use the jar lifter to set each jar upright on the canner rack. Fasten the canner lid exactly as the manual says. Some lids clamp down, others twist into place, and guessing your way through somebody else’s equipment is a gamble you don’t need to take.
Avoid a Costly Blunder Before You Light the Burner
Sure, an outdoor setup can keep heat and mess out of the kitchen. But a roaring turkey-fryer burner can damage a pressure canner, and a cold, windy yard makes steady operation harder. Use an outdoor burner only if the canner manufacturer permits it and the burner meets the model’s limits.
Also, put the canner on a level, sturdy surface that can carry the full load. Choose batch size by the canner’s rated jar capacity and loading instructions, including any rules for stacking. A big batch saves work only when the equipment can handle it properly. Otherwise, you’re setting yourself up to learn the hard way.
Let the Steam Clear the Way
With the lid secured, leave the vent open and heat the canner until a steady, funnel-shaped stream of steam escapes. Then vent continuously for 10 full minutes before adding the weight or closing the petcock as directed. Trapped air interferes with proper processing, so this step belongs in every batch.
Meanwhile, stay at the canner. Don’t let another chore lure you away. Enjoy the smell of woodsmoke drifting from the chimney or watch the chickens fuss along the fence, but keep your attention on the job. This is hands-on time.
Set the Pressure for Your Own Patch of Ground
Now for the cold, hard facts: use the pressure setting for your elevation and gauge type. According to the tested meat recipe, weighted-gauge canners use 10 pounds of pressure at elevations up to 1,000 feet and 15 pounds above 1,000 feet. A dial-gauge canner uses 11 pounds through 2,000 feet, 12 pounds from 2,001 to 4,000 feet, 13 pounds from 4,001 to 6,000 feet, and 14 pounds from 6,001 to 8,000 feet.
If you live higher, get the appropriate guidance from your local Extension office before canning. And follow your manufacturer’s instructions for the weight’s motion: some rock steadily, while others jiggle at intervals. There’s no single ch-ch-ch rhythm that fits every canner.
Give Pints 75 Minutes and Quarts 90
Once the canner reaches the required pressure, start timing. Plain meat chunks need 75 minutes for pints or 90 minutes for quarts, using the correct pressure for your equipment and elevation. The warmup and venting periods don’t count toward that processing time. Don’t try to shave off a few minutes.
Then adjust the heat gently to hold the pressure steady. If it drops below the required level at any point, bring it back up and restart the entire processing time. Settle in with a chair nearby and keep watch; supper on the shelf is worth a little patience today.
Hands Off While the Canner Cools
When the full processing time ends, turn off the heat and let the canner cool and depressurize naturally. Don’t run cold water over it, lift the weight early, or try to hurry things along. Follow your model’s directions for confirming that it is fully depressurized.
After depressurization, remove the weight or open the petcock as directed and wait another 10 minutes before opening. Lift the lid away from your face so the steam escapes safely. Then lift the jars upright onto a towel or rack in a room-temperature spot, leaving space between them and avoiding cold drafts.
Listen for the Ping and Check the Seal
Soon enough, you may hear that sharp little ping as the lids draw down. It’s a gratifying sound, right up there with rain on the garden after a dry spell. Still, the ping alone doesn’t prove a jar is safely processed or properly sealed.
Instead, let the jars cool undisturbed for 12 to 24 hours without tightening bands or pressing lids. Then remove the bands and follow the directions for checking jar seals. If an otherwise correctly processed jar fails to seal and you discover it within 24 hours, refrigerate it promptly and use it soon; don’t put it on the pantry shelf.
Finally, wash and dry the sealed jars, label them with the contents and date, and store them without the bands in a cool, dry, dark place. Follow the home-canned food storage guidance, and plan to use your jars within a year for best quality. Never taste a suspect jar to decide whether it’s safe.
A Stockpiled Pantry That Holds Its Own When Winter Gets Ugly
Now picture that January storm again. The yard is glazed white, the porch steps shine like glass, and the county road has gone quiet. But inside, you’ve got rows of rich brown meat tucked away, ready to help make a hot meal.
Better yet, those jars don’t need an extension cord. They hold the work of a hunt, a butchering day, and an afternoon spent doing things carefully. When chores run late or an unexpected outage knocks the lights out, that work pays you back.
That’s homemade peace of mind, waiting behind the pantry door.