


Image source: Pixabay.com
If you are fortunate enough to have a sourdough starter, then you have your own colony of yeast that can be fed and maintained indefinitely, ensuring you will never need to buy commercial yeast for bread again.
Although it is possible to get starter from an enterprising acquaintance or even buy a kit, there is a certain thrill to making your own, from scratch. It may seem complicated and mysterious, but in truth it is very simple.
Before packaged yeast was readily available, bakers produced a sourdough starter to supply their needs, using little more than flour and water. Patience is key; you must wait for the yeast to grow, and you must be willing to throw your attempt away and start again. Wild yeast will grow considerably more slowly than their commercial “active dry” counterparts; this is to be expected.
Discover 1,147 Secrets Of Successful Off-Grid Living!
You will create and maintain a culture, growing what is wild in your environment and feeding it to allow the colony to multiply and mature. Don’t worry when the culture bubbles up and starts to smell. That’s how you know you are on the right track. Once it is mature, the culture is a starter and is called a “mother”; you can use the mother to supply yeast in baking indefinitely, provided you keep it fed. Unless you are familiar with working on a microscopic level, such as if you brew beer or ferment sauerkraut, this will be a bit of a strange process – a kind of tiny farming.
When you mix flour and warm water, enzymes in the flour begin to break down into sugars. These are food for the yeasts and bacteria everywhere in the environment. Although yeast might begin to grow right away, there are other microbes that will grow more quickly; one of these, lactobacilli, is beneficial.

Image source: Pixabay.com
This produces lactic and acetic acid as a byproduct, which raises the pH level of the culture to create an environment where yeast can flourish. Another bacterium, leuconostoc, might grow very quickly and fool you into thinking the yeast is already growing; these bacteria will not help you make bread but will improve the acidity of your culture without any harmful effects, and will die off. If your culture turns pinkish or grows visible mold, it has become compromised. You must throw it away and start again. Once yeast begins to grow, the fermentation process led by the lactobacilli will protect the culture from further unfriendly invasions. Some bakers use juice or apple cider vinegar to hasten the yeast development by lowering the pH to a more suitable level from the beginning; this may help you but is not necessary.
- Begin with a clean glass jar with a lid. Mix ½ cup of good quality unbleached flour and ½ cup warm water. It is better not to use “city water” that has been chlorinated, as the chemicals added to the water can inhibit growth of yeast.
- Cover the mixture with a clean cloth, like a tea towel. Wait for a day. Do nothing. This is your yeast trap, and it will be irresistible to the “animal” you are attempting to catch and tame.
- On day 2, look for bubbling. If there is none, then give the mixture a rapid stir and leave it for a day. Likely there will be some. If the culture is bubbling, move on to step 4.
- Throw half of the culture away, and feed it an equal amount of new water and flour – in this case, ¼ cup water and ¼ cup flour. Give it a stir – no need to mix it thoroughly. Cover it and wait another day.
- Days 3-5: It should be bubbling now. If it’s getting too big, throw some away before feeding. Feed the culture again, cover, and wait some more.
- Sometime between days 5 – 8: Check the volume of the culture between feedings. If it is doubling, you now have a healthy population of yeast. You can put it into the refrigerator and divide and feed it weekly, or keep it at room temperature and do so daily.
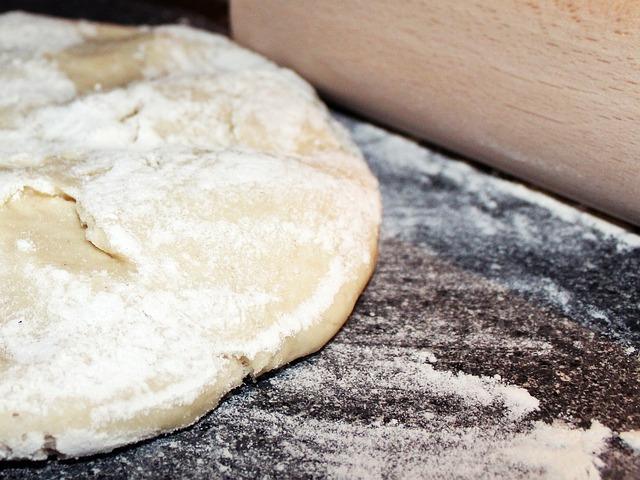
Your starter should be bubbly and the texture of pancake batter. It might produce a liquid on the top; this is alcohol created by the fermentation process. Stir it in, as it will add flavor to your breads; don’t drink it. Once you have created a starter, it can be used in bread recipes to leaven your dough. Replace the “packet of yeast” direction in virtually any bread recipe with about a cup of starter, and adjust the recipe to account for the ½ cup water and ½ cup flour you have added. You might need to adjust if your dough rises slowly, but in general this rule of thumb will make bread.
As you divide and feed it you will have starter to share. Make a gift of it: Give it to a neighbor with instructions for baking and tending it, and you’ll make a friend for sure. Soon you and everyone you know can eliminate your need for commercial yeast, and experiment with making great-tasting bread with your own “local” yeast.
What advice would you add? Share your thoughts in the section below:


