


|
Listen To The Article
|
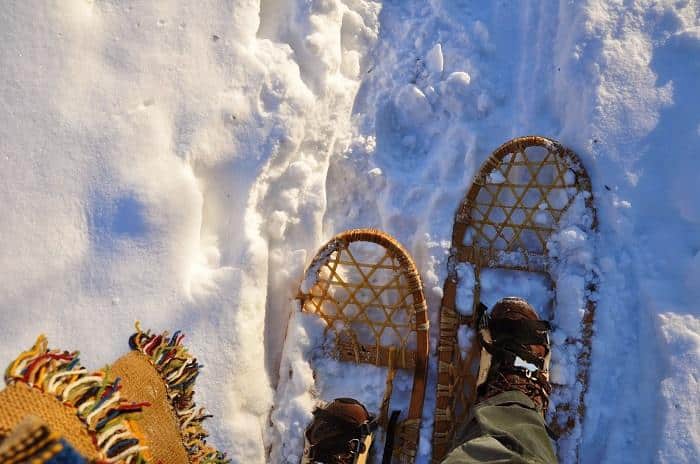
snowshoes
Snowshoes have been used for hundreds if not thousands of years in one form or another, and for good reason. When the snow is soft, our feet sink right into it with each step. Even when the snow is hard and crusty, it can still yield to the steps of our weight. The result: We cover less terrain in a season where the daylight hours are already short, and we spend much more energy than needed.
Snowshoes have long been the remedy. They’ve proven effective by distributing the weight of a user over the area of the snowshoe, so that the snowshoe only sinks minimally (if at all) into the snow.
Modern-day snowshoe kits can be purchased for around $60 to $80 for basic models, and hundreds of dollars for top-of-the-line products. But if you don’t want to spend this kind of cash – or if you’re stuck in the woods after a surprise snowstorm — then your other option is to make a pair of more traditional snowshoes out of natural materials. They may look rudimentary, but if done right, they’ll work and can be used again.
The branches from willow trees work the best for forming snowshoes, since they last long and are bendable. If there are no willow trees in your backyard, you can always take a Saturday to do some searching out in the woods. While willow trees are not the only tree you can use, they do work the best, by far.
Collect plenty of willow branches, and get some cord and a good knife (tape also can be helpful). Trails.com recommends making snowshoes about six inches longer than your regular shoes. Get two long willow branches (about two inches round) for the frames and lots of smaller pieces for the crosspieces. Strip the bark.
Story continues below the video:
Heat the branches over a fire, but without burning them to make them more flexible, and then bend a long branch into the size and shape of the snowshoe you want (a teardrop shape). Ideally, your snowshoe should be several inches wider than your foot. Once you have reached a size you want, take some cord and tie the ends.
The next step is to set smaller willow branches across the frame of the snowshoe. Set one branch across the middle of the snowshoe and another branch across the ball of your foot. Proceed to set across more crosspieces spaced a couple of inches apart from each other. (These will support your shoe.) Tie the ends of each piece onto the frame, tightly with the cord.
Take more branches and form a crisscross on the branch pieces you just tied on. Use as much cord as you need to ensure that the pieces are fully secured.
The final step is to tie some rope or leather onto the snowshoe for your shoes or boots to fit in. This rope should be tied around the entire snowshoe, and also needs to be fastened tightly and securely. If your boots don’t fit tightly onto the snowshoe, the snowshoes won’t work properly.
Even if your new snowshoes don’t exactly look professional on your first try, they should work. Test them out by walking around in the snow; you can re-tie them to start all over again if your first attempt doesn’t go as expected. Initially, extended use of the snowshoes may make your feet and ankles sore, and while you may struggle with using the snowshoes effectively, practice makes perfect. Give it a go, read up on tips on how to wear the snowshoes effectively, and good luck!
Do you have any snowshoe-making tips? Share them in the section below:
Sign up for Off The Grid News’ weekly email and stay informed about the issues important to you


