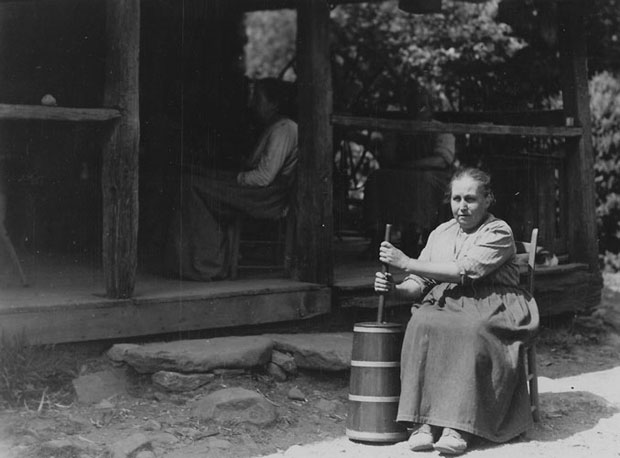
Back in the day, your great-grandparents grew their own fruits and vegetables, raised their own livestock, and made their own foods.
One of the things that most everyone made in the kitchen was butter. The reason is simple: Most people had a few cows that they were milking and so, making your own butter was just a natural byproduct of that type of farm life.
So, how do you make your own butter just like your great-grandparents did?
Learn 1,147 Secrets Of Successful Off-Grid Living!
Read below to find out just how easy it really is.
Here are the tools you’ll need to make butter:
1. A butter churn with a glass bottom if possible. Small table-top churns will quite often use one- or two-quart mason jars as their container or bottom element and will work just fine.
2. A fine wire mesh strainer.
3. A wooden spoon.
4. A bowl to collect the buttermilk.
5. Wax paper.
Here are the ingredients you will need:
1. Two pints of heavy cream or whipping cream.
2. Really high quality flake salt. Flake salt is different than regular salt. Its shape resembles crystal flakes instead of being granular. This will impart the best flavor, and it mixes with the cold butter so much easier than the granular version.
Instructions
Making butter is quite simple. Here’s how you do it:
1. Let your two pints of cream sit out at room temperature, with the lid closed for 2 1/2 to 3 hours to ripen. This temperature increase will allow the butter to separate so much easier.
2. Pour both pints of cream into your butter churn.
3. Start turning the hand crank of your butter churn to begin the process. This will take 40 to 45 minutes for the butter really to separate. It will go through a few stages along the way and at one point will appear like it’s not working very well. Trust the process; all is going as planned. Now when you open it up you can see that the butter will now be separated from the buttermilk.
4. Strain the butter and buttermilk over the bowl we mentioned in the tools section. The great byproduct: You now also have buttermilk that you can use for many things such as biscuits, pancakes or just plain old drinking buttermilk. Be sure to use a wooden spoon and move the butter around in the strainer to get all the buttermilk off of it that you possibly can.
5. This next step is important. You need to rinse the butter with cold running water while it’s still in the strainer thoroughly. If you don’t, the buttermilk will sour and you’ll have bad butter. (If you ever have had bad butter that has soured, it’s nearly always because all the buttermilk wasn’t rinsed out.) As you’re rinsing it, massage the butter and move it around under the running cold water. This rinsing process should take at least five minutes to get all the buttermilk out.
6. Add a 1/4 teaspoon of your flake salt and blend that in. Taste your butter. If it’s not salty enough, add just a little more salt. Then, thoroughly re-mix and taste again.
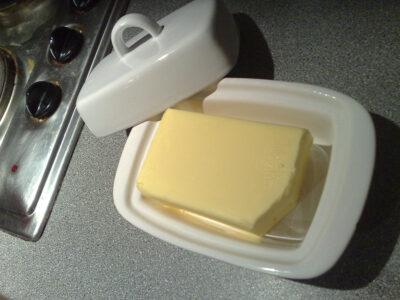
Put your butter into wax paper and roll it into a log shape (easiest). Twist the paper ends tight and refrigerate.
Use and serve your newly made butter just as you would any other butter.
Final Thoughts
The big difference is that since you made it yourself, you know what went into it. There are some companies out there that are using chemicals to aid in the separation process and cut down on churning time. You know your butter is chemical-free.
The taste of homemade real cream butter is amazing. You’ll love it.
Enjoy!
What butter-making tips would you add? Share your tips in the section below:
Harness The Power Of Nature’s Most Remarkable Healer: Vinegar
 Off The Grid News Better Ideas For Off The Grid Living


