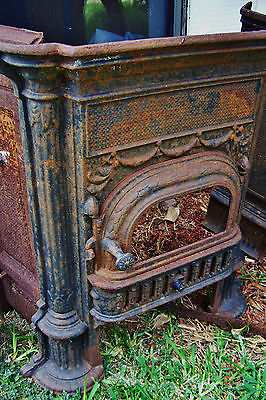
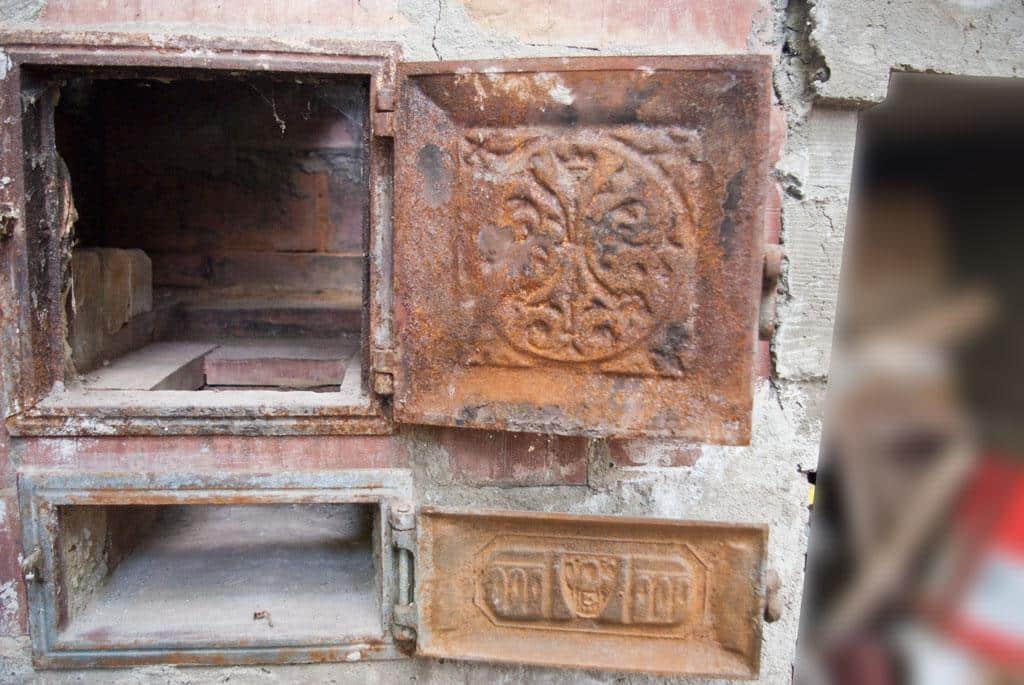
My brothers and I years ago came across an old wood-burning stove in the garage of my Grandfather, who had passed away. We were in the process of renovating his house and property, and finding the old wood stove was not greeted enthusiastically at first.
“Let’s load it up and junk it. We could probably get 20 bucks for the scrap price,” one of my brothers said.
I actually considered his suggestion because I had way too many other projects to think about, but my other brother held out.
“We might need this someday,” he said. “Besides, it was Grandpa’s.”
The result was that we spent some days and weekends over the summer restoring this old wood stove.
The Most Versatile Backup Stove In The World Allows You To Cook Anything, Any Time, Any Where
This was a very basic wood-burning stove – sometimes referred to as a “boxwood” stove. It was cast iron and elongated, and was basically a firebox on legs with a flue at the back and a damper. My Grandfather used it in his garage in the winter while he tinkered around with stuff like chainsaws and sharpening axes and probably a few nights smoking cigars and just passing the time.
The entire stove was very rusted, both inside and out. There was still a good amount of ash in the firebox and a significant mouse nest made from various fur, fluff and other stuff.
The First Step
Our first step was to totally disassemble the stove. This involved loosening all bolts for the legs, the top, the door and every other piece. We laid these out on a sheet of plywood and started to scrape the rust with sandpaper, steel wool and both dry and wet rags.
Sandblasting?
 A curious side note is that gravestone makers have the ability to sandblast, and many will sandblast your stove for a small amount if it’s very rusted. We didn’t need to do this, but I thought about it after a few hours of rubbing with sandpaper and steel wool.
We finally washed it down again with damp rags to clear off the rust/dust and let it dry in the sun. My brother thought we should spray paint it with a high-temperature flat-black paint, but I wanted to use tubes of stove-black. You rub it into the surface and rub it some more with a rag. It’s more expensive than spray paint, but when my brother saw the result he said we should get more of the stuff.
New Survival Energy Product Makes Every Window A Powerful Solar Charger
We used his high-temperature spray paint for the firebox interior and the underside of the stove, making all of the parts and pieces you could see completely black.
What About the Stove Integrity?
Once we had this old stove looking good, I started to worry about taking this from a decorative piece to a fully functioning and reliable stove. The first step was to insert some fireproof, fiberglass rope into the door to create a good seal.
The next step was to make sure the top lid, where you might put a cast iron pan, had a tight seal. These can get pitted, but we were fortunate and the seal was not compromised.
Our biggest problem was that the damper was rusted and pitted. I removed it and took it to a stove shop and handed it to the guy and asked, “Can you help?” He went back into his store room and came out with the exact damper in perfect condition. I asked how much and he said, “How’s 10 bucks?” I couldn’t pay him fast enough, and I went straight back to the cabin.
Testing It
My brother and I started up a fire in the stove in the backyard, and I’m glad I did. The stove black and spray paint actually gave off some vapors, but once they burned off, the stove was without leaks, smells or anything that would cause us any significant worry.
That stove has been keeping the garage warm for about 12 years now. We still tune it up and maintain it, but I’m so glad we didn’t junk it. It’s an heirloom in my mind, and sometimes I sit by it and smoke a cigar, while I mess with a chainsaw and think about my Grandfather.
Have you ever renovated a wood-burning stove? Share your advice in the section below:
 Off The Grid News Better Ideas For Off The Grid Living


