


|
Listen To The Article
|
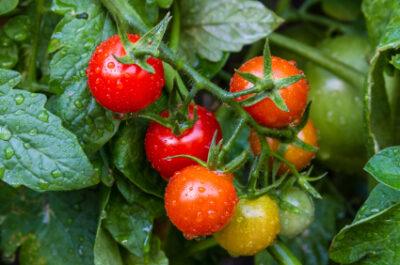
Tomatoes are the Prima Donnas of the vegetable garden.
Tomatoes are a little different than many garden vegetables.
Throw lettuce or carrot seeds in the ground and they sprout within a week or two, grow rapidly, and you’re done. Ditto for broccoli, peppers, and onions. Sure, I’m simplifying, but barring disease and insect problems, these vegetable crops need little maintenance beyond watering, fertilizing, and weeding.
Not so with tomatoes. Tomatoes are the prima donnas of the vegetable garden. Of all the produce in my garden, tomatoes are the ones I prize the most. When grown properly, they produce abundant fruit, suitable for both fresh eating and preserving. They’re also the garden vegetable that, in my opinion, has the most to offer in taste over their grocery store counterparts.
They’re also the vegetable that I baby the most. Because indeterminate varieties continue growing until the first heavy frost on sprawling, robust vines, they’re more susceptible to diseases and problems than vegetables with a quick growing season, such as carrots or lettuce. Their fruits need plenty of sunlight – but not too much—to ripen properly.
Over the years, I’ve tried just about every method of tomato growing. Read on to glean from my experiments, failures, and successes and develop a plan for your own garden.
Best Tasting Tomatoes You’ll Ever Grow!
Old tires. My mother grew tomatoes in old tires, which offered some support, kept the weeds down, and produced heat, an important consideration in her northern garden. I don’t have access to free old tires and I worry a little about chemicals leaching from the tires, so I’ve never tried this method. Nevertheless, my mother’s garden always produced abundant tomatoes with this technique.
Cone cages. Early in my gardening career, I used the commercial cone-shaped tomato cages. Nowadays, you can find larger, sturdier cages that probably work well. Mine only stood about four feet tall and were pretty flimsy. I like the cages because they’re easy to store and easy to install. Minimal pruning is needed with this method, but the plants produce prolifically because they’re off the ground, which reduces disease problems and increases fruit production. Inexpensive cone cages work well for compact, determinate tomatoes, but they just don’t cut it if you’re growing heirloom or indeterminate varieties.
Staking makes it easy to pick your harvest!
Staking. I have on occasion staked my tomatoes. I pounded heavy metal posts into the ground and planted one tomato plant within a few inches of each stake. As the tomato plant grew, I secured it loosely to the post with strips of old cotton cloth. Nylon socks work well too. I kept one strong central leader and pruned out most of the other stalks. I also pinched out the suckers that grow between two strong, main stems. Staking has several advantages. The plants look tidy and attractive throughout the season, and they suffer few disease problems. Staked tomatoes also produce abundant quantities of good fruit. The downside to staking is the work involved. It is one of the most labor-intensive methods of growing tomatoes. Also, if you prune too heavily, the fruit becomes sun scalded.
Trellising. One year, I grew my tomatoes along a fence made of chicken wire strung between two metal fencing posts. This method is similar to staking because you must tie the vines to the trellis as the plants grow. Pruning is also necessary to keep the plants in check. Harvesting is fairly simple. Because the plants are secured against a flat surface, it’s easy to spot and pick the fruit.
Structure-free. The summer after my fourth baby was born, I decided to let the tomatoes sprawl on the ground. I was sleep deprived and short on time and ambition, and this seemed like an easier alternative to other methods. I had heard that tomatoes grown this way produce fewer, but larger fruits, but I was surprised by the results. My tomatoes produced significantly fewer fruits using this method, and the quality was quite poor. Even in my dry climate, I had more problems with disease and insect pests than I’ve ever encountered. I haven’t tried this experiment again.
Heavy-Duty Cages. After experimenting with all the various methods, I’ve settled on using heavy-duty cages. They take up space in my shed in the winter, but they offer the best chance of a disease-free, abundant crop with the least amount of effort. I made my tomato cages from concrete reinforcing wire. They’re very heavy and will likely last forever. If you’d like to make your own cages, Master Gardener Larry Kloze from the University of Maryland offers a video tutorial. Several manufacturers now make sturdier square cages, many of which are collapsible. Whether you use a sturdy homemade or commercial cage, ensure that the cages have a space of at least five to six inches between each wire for pruning and harvesting tasks. When growing tomatoes in cages, I keep pruning to a minimal, removing only the ancillary sprouts and occasionally topping the plant if it becomes too tall.
Old Time Tomatoes Are Easy To Grow…
Other Considerations
Once I figured out how to control my tomatoes, I started experimenting with mulches and cloches. In my cold, dry climate, summer doesn’t really arrive until June 1, which means a shorter growing season than I’d like. Once summer does arrive, dry heat and wind quickly parch my garden. I needed some strategies to warm up conditions in the spring and conserve moisture in the summer. Here’s just a few that I’ve tried:
Milk jug cloches. To keep young plants warm and protected, I cut the bottoms off gallon-size plastic milk jugs. I also removed the lid to allow air to circulate freely. I placed these milk jugs in the garden directly over young plants. The results: The milk jugs did an adequate job of protecting young plants, but they must be removed when the plants stand about eight inches tall. I liked the fact that they were free and I was reusing a resource, but my dog and my toddler kept playing with them. More than once, I found them somewhere else in the yard.
Wall-O-Water. I bought these plastic cloches at a local garden center and placed them over my tomatoes. They have tunnels, which, when filled with water, create a greenhouse effect. The results: I’m not one for buying expensive gardening gadgets, but this item has paid for itself many times over. By using these cloches, I can plant tomatoes up to three weeks earlier, a huge boon in my northern climate. The plants grow faster and produce fruit faster, as well. They cost about $4 each, which adds up quickly if you grow a lot of tomatoes, but I’ve had mine for several years. They fold flat and take up almost no room in the shed during the winter. Just be sure to remove the cloches when temperatures rise above 75 degrees; otherwise, you’ll scorch your plants.
Black plastic mulch. My county extension office recommends black plastic mulches over tomatoes, so I decided to give it a try one year. I stretched a length of black plastic over a raised bed and stapled it down. I cut holes in the plastic to plant the tomatoes, and I ran soaker hoses underneath the plastic for watering. The results: I had almost no weed growth, which was fabulous, and the soil did stay moister. On the other hand, the plastic broke down over the season and I hated throwing it away at summer’s end. I also found it difficult to fertilize the tomatoes.
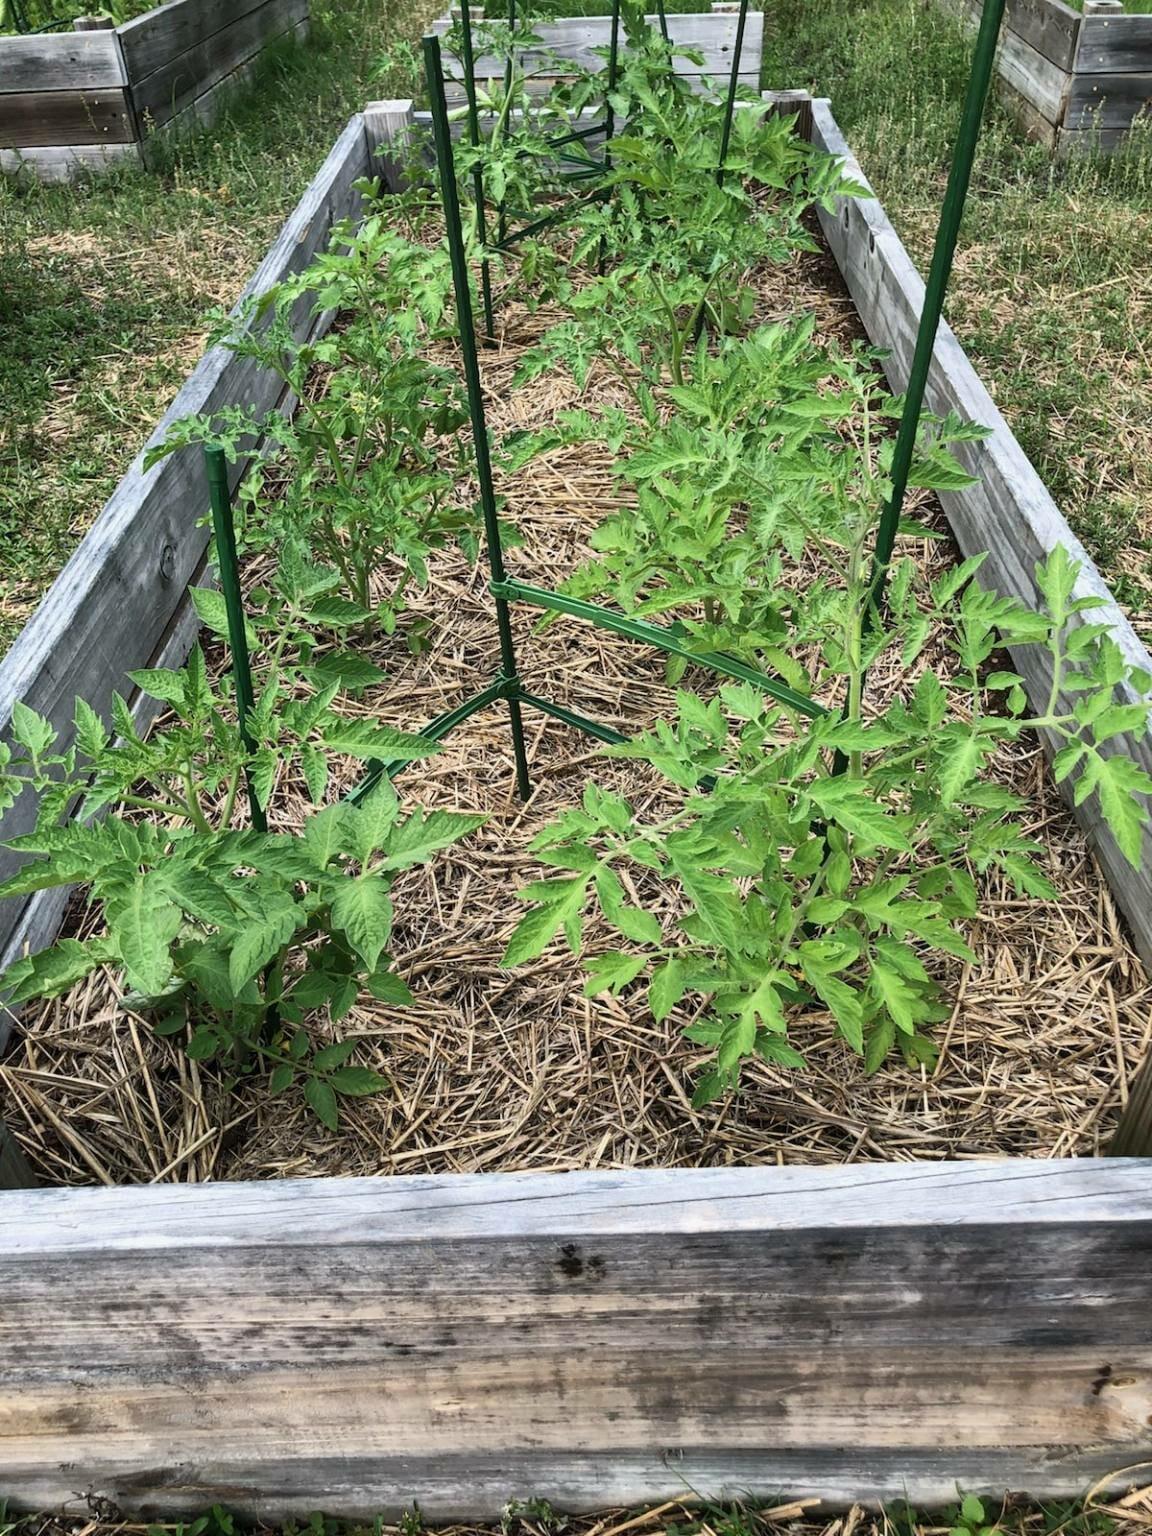
Untreated grass clippings. I spread one inch of untreated grass clippings over the soil every week. The results: I love grass clippings in my garden and don’t reserve them just for tomatoes. The grass clippings reduce weed growth, conserve moisture, and add low doses of nitrogen as they break down. Best of all, they cost nothing, and I’m keeping them out of the landfill. If you decide to use grass clippings in your garden, apply no more than one inch per week. Thick layers can’t decompose and instead become slimy, smelly messes.
If you have any other tips for growing tomatoes, please share them in the comments below!


