


True self-reliance means home brewing, making your own beer!
As more people try to live a self sufficient lifestyle, they’re turning to producing their food at home as their ancestors did before them. Just about every culture has a tradition of home brewing, or preserving food or purifying water through fermentation.
These days, home brew kits and malt extracts take the work out of home brewing. You can also buy an all inclusive box of ingredients, mix, ferment and drink your brew with minimal effort. The problem with kits, is that they’re often expensive and you lose control over the final outcome of your brew. Once you learn how easy it is to brew beer traditionally, using naturally malted grain and hops, you’ll truly have the tools to take back the fermenting tradition of those real beer making pioneers that came before us.
Choosing Your Home Brewing Ingredients
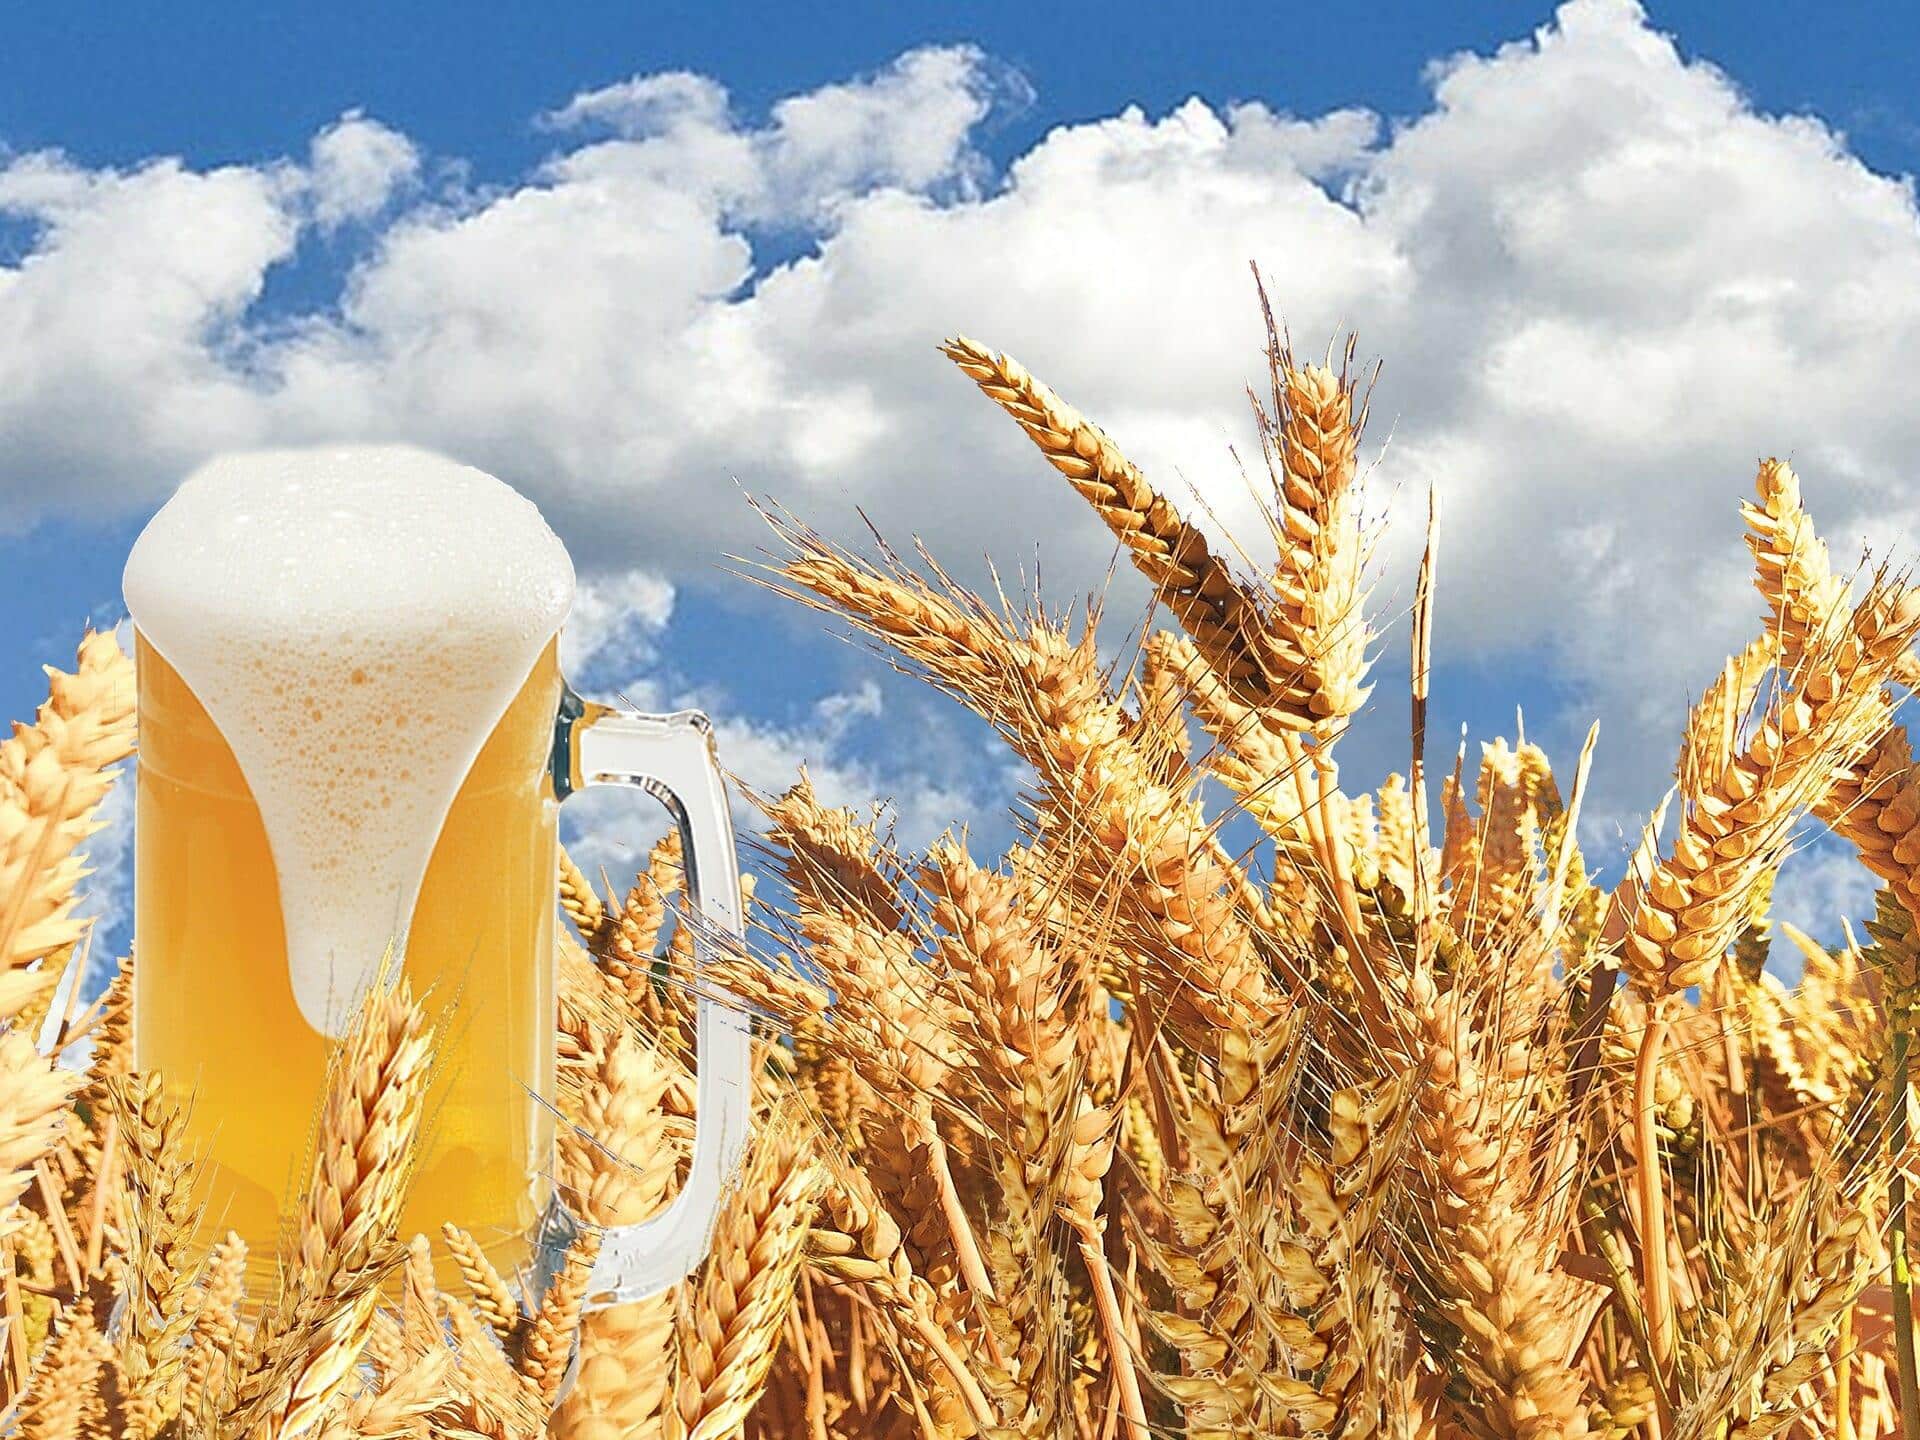
Traditionally made beer is a simple thing, consisting of only 4 ingredients: malted grain, hops, yeast and water. With that in mind, it’s easy to make your first simple all grain beer by choosing a straightforward barley base malt, such as a lightly roasted “two row malt” to use as the bulk of your grain (8 to 10 lbs total). To add color and body, try adding half a pound to a pound of crystal malt or rye. The malt grain is ground before brewing to increase surface area and improve sugar extraction.
For hops, the choices are endless, and each strain tastes very different. As a guide, hops are rated by alpha acid. Alpha acid determines how bitter the hops will come out in the final boil. The higher the alpha acid the more “hoppy bitterness” will come through in the brew, such as in an IPA. Hops are necessary to preserve and flavor the beer. Try choose 2 to 4 ounces as a starting point, and modify from there.
Yeasts profoundly affect the flavor, and there are hundreds of varieties. A basic yeast such as Chico yeast for making a west coast pale ale or a London ale yeast will serve well for more of an English style brew.
Pocket-sized solar generator offers dependable back up power anywhere!
Mashing
While malt extracts have already done most of the mashing, or extracting of sugars from the malt, in all grain home brew you will need to mash the grain yourself. In mashing you’re creating an enzymatic reaction in the grain. Using water at different temperatures to regulate the extraction of sugars from the grain.
When grain is soaked in water and held between 130 and 150 degrees F, the enzymes within the grain convert the starches into readily fermentable sugars that will form the alcoholic content of your beer. At higher temperatures, between 154 and 167 degrees F, the enzymes create longer chain sugars which do not ferment well, but will add to the sweetness and body of your final brew.
Often brewers will add hot water to their grain, and work to keep it at one temperature. Then add hotter water to change the enzymatic reaction and extract longer chain sugars to create a well rounded beer. This is called a “two rest mash” because the grain is resting in the water at two different temperatures. For your fist brew, try keeping the grain between 130 and 150 for an hour. Next, start adding more hot water to raise the temperature and hold it between 154 and 167 for an additional half hour.
After you’ve extracted the sugars in your mash, it’s time to boil your beer, also known as cooking the wort.
Cooking The Wort
In this stage, your sugar water extracted from the malt is boiled to extract the alpha acid from the hops and sterilize your brew to kill any ambient yeasts. Alpha acids are hard to extract from hops, the longer you boil, the more bitterness you extract. The trick is, the longer you boil, the more volatile flavor compounds are lost from the hops. Ideally, hops would be added at different stages throughout the boil. The first addition is used to add bitterness, and then hops added at the end would contribute flavor compounds. Try boiling your wort for 1 hour, adding 1 ounce of hops at the start and then adding another 2 ounces at the 45 minute mark, before stopping the boil at 1 hour.
Cooling the Wort and Pitching Yeast
After the boil, the wort needs to be cooled as quickly as possible. The rapid cooling causes any strange proteins extracted from the malt to drop out of suspension and keeps them out of your final brew. A good way to do this is to take your brew pot in the winter, and plop it into a snow bank to cool until it reaches roughly 80 degrees F. In the absence of a snow bank, cool water in the batch tub will also work.
Once your brew is cool, “pitch the yeast” or add your yeast to begin the ferment.
Fermenting
Once you’ve added your yeast, the beer will need to be moved to a fermentation vessel that allows the carbon dioxide produced by the yeast to escape, but does not allow oxygen in. This environment promotes yeast fermentation, and prevents your brew from turning into vinegar. A simple water lock, made with a balloon or by taking a piece of tubing secured in an air tight manner onto your fermentation vessel, and placing the end in a jar of water will work.
Allow your beer to ferment for at least 2 weeks. Ideally 65 to 75 degrees, in a place with consistent warm room temperatures. Variations in temperature, or low temperatures can cause your brew to take longer to ferment or create off flavors.
Bottling Your Home Brew
Once your beer has fermented, it’s time to bottle. Ideally, most of the fermentable sugar has been used by the yeast. Then you will need to add a slight bit more at the end to get your bottles to carbonate. Corn sugar is most commonly used, but table sugar or any other fermentable sugar can be used in a pinch. Try adding 1 ounce for a 5 gallon batch. Pour into bottles, cap, and wait 2 weeks for the bottles to carbonate.
At this point, your bottles are ready to drink, and you’re ready to enjoy the fruits of your labor.


