


Fresh apple cider is delicious
Autumn is here! And autumn means harvest time has come and is in full swing. To me, fall has always meant lots of apple pies, apple butter and apple sauce, as well as jugs full of apple cider and juice. There’s just nothing like a fresh-made, frothy mug of apple cider after a long day of harvesting and processing the fruits of my labors from the previous six to eight months.
It doesn’t matter if you have your own private orchard supplying you with all the apples you could want or if you’re raiding the local farmer’s markets. Either way, you can make your own apple cider and juice at home. Of course, if you do happen to have your own orchard, making cider is a great way to cut down on the waste you might experience, especially with those early summer apples that have gotten insect stung, pecked by birds or blown down in a windstorm.
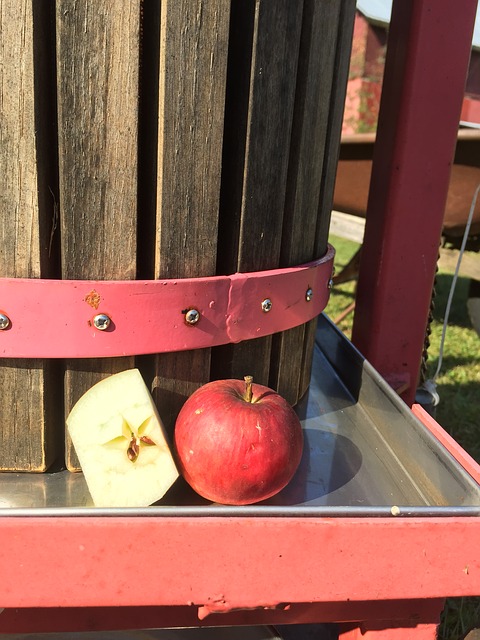
You can make your own apple cider in two different ways. If you happen to have a juicer, you will cut your work down a bit more than if you don’t. But it’s still a good way to get everyone involved in the process and it lets the kids have a nice reward at the end of the day that they can see – and drink!
Steps To Making Apple Cider
1. Gathering, Sorting & Preparing Your Fruit.
This is the most time-consuming step in making apple cider. It is also the best step to get the kids involved in the process. Older kids can learn how to use a small paring knife while mom and/or dad are there to watch over them.
- Small children can be employed to gather the apples into small buckets or baskets, especially if they are windfall apples already on the ground.
- Once the apples are gathered you will want to sort through them. You will want to cut off the bruises, peck holes and anything that you don’t think would be wanted in your finished product.
- After you’ve sorted through the apples, wash them well in fresh water. If you happen to be using grocery store apples, you’ll want to add half a cup of vinegar to each gallon of water to remove the wax from the skin of the apple. The wax may make the apples look nice and it may not have a lot of flavor, but it could still taint your cider and we don’t want that.
- Cut the apples up. There’s no need to peel or core the apples. However, if you’re worried about the seeds, then you can separate out the cores — but don’t throw them away! I’ll give you an idea for them later on.
Making apple cider
2. Cook Your Apples.
You can use a large stockpot for this, but make sure that you can reach the bottom with a potato masher without touching the tops of the apples, since they’ll be hot when you get to that point.
- Add about 2-3 inches of water to the bottom of the pot full of apple pieces and bring it to a boil.
- Once the water boils, turn it down to a medium-low simmer to help the juices come out of the apple flesh. Cover and let the apples soften. You’ll need to keep an eye on it, since apples cook down fairly quickly depending on the amount you have in the pot.
- Every once in a while you’ll want to take the lid off and mash the apples with a potato masher. Beginner’s Note: A potato masher is the one with the wave-like, single wire. Not the flat piece with holes in it.
3. Strain the Mash.
- Cooking should only take about 10 to 20 minutes for each batch.
- Once the apples are broken down, you are ready to strain the pulp out of the juice. You can use either a fine mesh sieve or a food mill.
- If using a mesh sieve, you will want to use a silicone scraper or “jelly fish” spatula to move the mash around to press as much juice out of the pulp as you can.
- A food mill is much easier than a sieve. With a food mill you will need to strain your juice a second time to separate out the pulp that will have gone through the mill.
- Don’t throw out the leftover solids from the sieve or the peels from the mill!
- If you use the mill and have to strain the juice a second time, the resulting mash can be made into apple sauce or apple butter. I’ve even got an idea for the peels that I’ll mention later on.
Emergency Backup Power In The Palm Of Your Hand.
4. Adjust the Sweetness,
- After straining, taste your cider. Is it too tart? If so, continue on to the next step.
- Transfer the liquid into a clean pot and start it on a simmer.
- Add sugar a teaspoon at a time and whisk thoroughly to dissolve it before tasting again. Continue doing this until it is the sweetness you and your family can enjoy.
- If you used a variety of apples, this step may not be necessary but it is always a good idea to taste your cider to be sure.
5. Preserve It!
- There are two methods to preserving your fresh-made cider: freezing or canning.
- If you are freezing your cider, allow it to cool in an air-tight container before putting it into the freezer. Use the cider within 3 to 6 months for the best flavor.
- For a longer shelf-life, it is better to can your cider. Pour warm cider into hot, sterilized jars with ½ inch head space. Process in a hot water canner for 30 minutes.
Congratulations! You’ve made your own, homemade apple cider that you and your family can enjoy for weeks or months to come. But you might be asking what you can do with the leftover cores and peels besides tossing them in the compost or out in the chicken yard. Well, that’s the idea I wanted to leave you with. You can make apple cider vinegar from them. Nothing needs to go to waste!
What advice would you add on making apple cider? Share your advice in the section below:


