


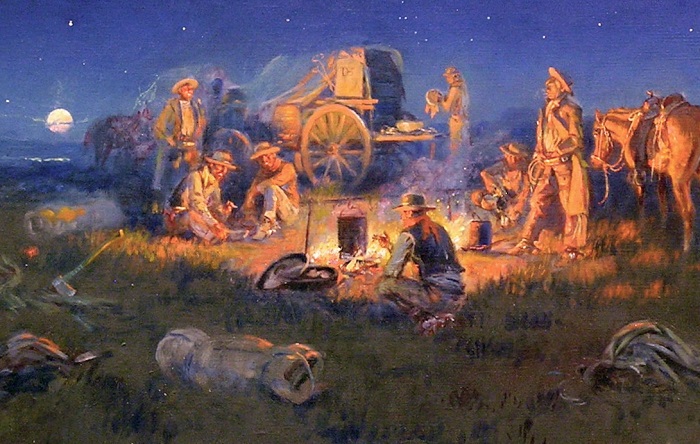
Pioneers learned how to make many things without an oven. Making Bread was one of them.
Baking bread usually requires an oven. But what do you do when you’re a pioneer living in the 1800s — and you don’t have an oven? Simple. You use a frying pan, or twist the dough around a stick or make a version of cornbread on the metal side of a hoe or large axe. This is what our ancestors did for hundreds of years.
The first recipe we’ll explore is a frying pan bread often referred to as bannock bread. The recipe is fairly simple. The only trick is making sure you don’t burn the bannock.
Bannock Bread
Bannock bread ingredients:
- 2 cups of flour
- 2 teaspoons of baking powder
- ½ teaspoon of salt
- 2 tablespoons of shortening
- ½ cup of dry milk powder (optional)
- Water
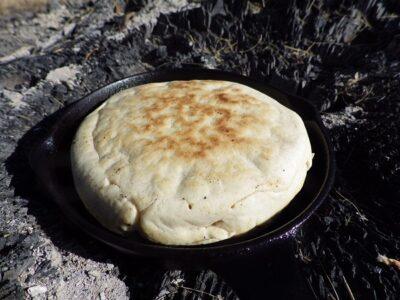
Bannock bread over coals.
Bannock bread directions:
Before you add the water, you need to cut in the shortening using a couple of knives or a pastry cutter. After the texture appears crumbly, slowly add water until you get a putty-like consistency.
Oil a cast-iron frying pan. Mountain men would use bacon, salt pork or even bear fat. I’m OK with the bacon but I’ll pass on the bear fat. Pour the mixture into the pan. I used a small size 1 cast-iron pan. Place the pan over some coals or on the stovetop and brown for about 3 to 5 minutes. Flip the bread over in the pan and finish the other side.
You might want to flip a few times to cook the bread through and to prevent burning. When you think it’s done, poke a stick into the center of the bread. If it comes out clean and dry, then the bread is done. If not, then you can let it rest in the pan off the heat until it finishes.
Bread on a Stick
Another recipe was popular with sourdoughs and mountain men. It was bread on a stick. This was a surprisingly simple solution because all it involved was wrapping a long roll of dough around the end of a shave stick and setting over the fire. The stick was usually inserted in the ground at an angle to the fire and turned occasionally. If you dip your hand in water
and spritz the dough while it bakes, then you’ll get a pretzel texture to the finished bread twist.
Bread on a stick ingredients:
- 2 cups of flour
- 3 tablespoons of sugar
- 1 cup of water
- 1 teaspoon of yeast
- Extra flour for dusting and rolling
Bread on a stick directions:
Combine and mix the dry ingredients and slowly add the water. You want to create a dough ball that you can roll out into a rope of dough. Use the reserved flour to keep the dough from sticking. Let it rest for about 10 minutes after kneading and then wrap it around the end of your cooking stick. The ideal dimension for your cooking stick is about an inch in diameter with a pointed end and about 3 feet long. I usually insert one end of the dough into the point at the end of the stick and then try to either overlap the dough as it’s wound or if I’m lucky, push it onto a small branch about 10 inches down the stick. Set the dough on the stick aside and let it rise a little more. I just push it in the ground away from the fire.
When it’s time to bake or roast your bread on a stick, push a different sharpened stick into the ground at an angle to your fire. You could also support it with rocks. You don’t want a roaring fire. A nice bed of coals will do. Turn the stick from time to time, but be careful and wear gloves because the stick will get hot. You can also spritz the dough with water flicked from your fingers if you want a pretzel-like finish to the dough. You can toss some salt on the wet dough toward the end of cooking after your final spritz.
Tear a piece off and give it a try. If it needs more time you can slowly turn it over the coals.
Hoe Cake
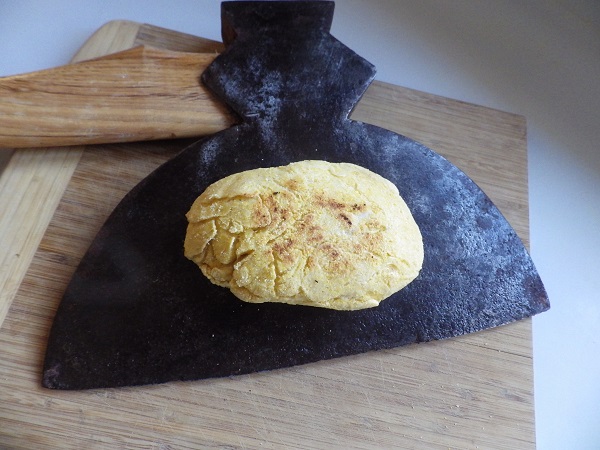
Hoe cake.
Another pioneer bread is commonly referred to as “Hoe Cake.” This is a cornbread that was literally baked on the curved metal side of a hoe. The hoe was parked next to the fire and the hot iron cooked one side of the hoe cake while the heat from the fire cooked the other side. I don’t happen to have a hoe, but I have a large timber-squaring axe, which did the trick just fine.
Just 30 Grams Of This Survival Superfood Provides More Nutrition Than An Entire Meal!
You can also finish your hoe cake in a cast iron skillet. It’s the same concept, although you have to flip if from time to time to finish both sides.
Hoe cake ingredients:
- 1 cup flour
- 1 cup cornmeal
- 2 eggs
- 1 tablespoon sugar
- ¾ cup of buttermilk
- 1/3 cup plus one tablespoon of water
- ¼ cup of vegetable oil or bacon grease
- oil for the pan or the hoe
Hoe cake directions:
If you want to do this the old-fashioned way on the side of a hoe (if you have one) or in my case, the side of a large axe – you’ll want a fairly thick batter that will stick to the side of the metal. If you would rather do it in a pan, you’ll want a cast-iron pan. Oil the pan and drop the batter into the skillet after it’s hot. You’ll probably want to turn it once or twice to cook it through and prevent it from burning.
Final Thoughts
It’s fun to try these old world recipes and they’re easy to make. You might want to experiment a bit, but it’s a good skill to know if you find yourself in the woods or wilderness and have a craving for something as fundamental as bread.
What advice would you add? Have you ever a survival bread? Share your tips in the section below:


